Conclusion
Home Assistant media control automation offers a powerful way to enhance your home entertainment experience. By integrating your media players, smart TVs, and voice assistants, you can create a seamless and intuitive control system. Automating tasks like dimming the lights and starting your favorite movie with a single command can transform your living room into a smart entertainment hub.
Remember to prioritize security and privacy while setting up your system. Regularly update your software, use strong passwords, and review your permissions. With a little effort, you can create a truly personalized and convenient media control system that enhances your enjoyment of your home entertainment setup. Enjoy your automated media experience!
Home automation is rapidly evolving, and controlling your media devices is now easier than ever. With Home Assistant, you can create a seamless entertainment experience that responds to your commands. This article will guide you through setting up Home Assistant media control automation, allowing you to manage your media players, smart TVs, and home theater systems efficiently.
Imagine controlling your entire entertainment system with a single voice command or setting up automated routines that dim the lights and start your favorite movie with one click. This level of integration not only simplifies your life but also enhances your overall enjoyment of your home entertainment setup. Let’s begin our exploration of Home Assistant media control automation.
By the end of this guide, you’ll have the knowledge to create custom media control scenes, integrate voice assistants, and automate lighting for the perfect movie night ambiance. Get ready to transform your home into a smart entertainment hub with Home Assistant. We’ll explore integrating media players and smart TVs, creating automations for playback control, and more.
Integrating Media Players and Smart TVs
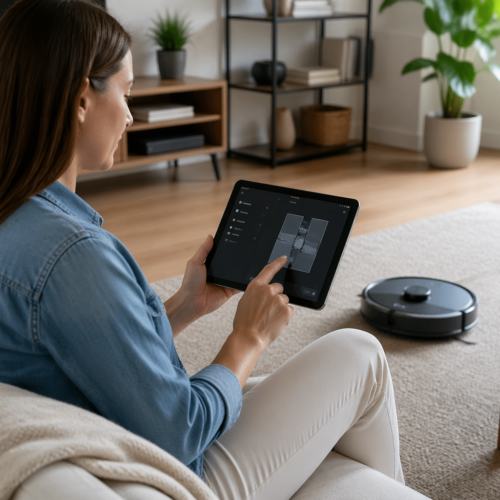
To begin, you’ll need to integrate your media players and smart TVs with Home Assistant. This involves adding them as devices within the Home Assistant interface. The process typically requires installing specific integrations or using built-in support for popular brands.
For example, if you have a Roku TV, you can use the Roku integration to control it directly from Home Assistant. Similarly, for media players like Kodi or Plex, there are dedicated integrations that allow you to manage playback, browse libraries, and control volume. These integrations are essential for establishing communication between Home Assistant and your media devices.
To add a new device, navigate to the “Integrations” section in your Home Assistant configuration. Click the “+” button and search for the integration corresponding to your media player or smart TV. Follow the on-screen instructions to authenticate and connect the device to Home Assistant.
Once the integration is complete, your media player or smart TV will appear as a device in Home Assistant. You can then view its current state, such as whether it’s playing, paused, or off, and access various control options. This initial setup is crucial for enabling all subsequent automation and control features.
Creating Automations for Media Playback Control
With your media players integrated, you can now create automations to control media playback. Automations in Home Assistant are rules that define actions to be performed when certain conditions are met. These can range from simple tasks like pausing playback when a call comes in to more complex scenarios involving multiple devices.

To create an automation, go to the “Automations” section in Home Assistant and click “Add Automation”. You’ll need to define a trigger, which is the event that starts the automation, and an action, which is what happens when the trigger occurs. For media playback control, common triggers include button presses, voice commands, or changes in device states.
For instance, you can create an automation that pauses the TV when your phone rings. The trigger would be the state change of your phone’s call status to “ringing”, and the action would be to pause the media player. This requires integrating your phone with Home Assistant, which can be done through the Home Assistant mobile app.
Another useful automation is to automatically turn on your TV and start playing music when you arrive home. This would involve setting your location as a trigger and using the media player’s “play” service as the action. These automations can greatly enhance your convenience and create a more responsive smart home environment.
Controlling Volume, Playback, and Source Selection
Beyond basic playback control, Home Assistant allows you to manage volume, playback, and source selection for your media devices. This provides a comprehensive level of control over your entertainment system. You can adjust the volume of your TV, skip tracks on your media player, and switch between different input sources all from within Home Assistant.
To control volume, you can use the “volumeup” and “volumedown” services provided by your media player integration. These services can be called in automations or directly from the Home Assistant interface. For example, you can create a button on your dashboard that increases the volume with each press.
| Control Function | Home Assistant Service | Example Use Case |
|---|---|---|
| Volume Up | mediaplayer.volumeup | Increase volume with a button press |
| Volume Down | mediaplayer.volumedown | Decrease volume with a voice command |
| Play/Pause | mediaplayer.mediaplaypause | Pause playback when a call comes in |
| Next Track | mediaplayer.medianexttrack | Skip to the next song |
| Select Source | mediaplayer.selectsource | Switch between HDMI inputs |
For playback control, services like “mediaplay”, “mediapause”, “mediastop”, “medianexttrack”, and “mediaprevious_track” are available. These services allow you to start, stop, pause, and skip through your media. Integrating these controls into your automations and dashboard provides a seamless way to manage your media playback.
Automating Lighting and Ambiance for Movie Nights
Enhance your movie nights by automating your lighting and ambiance with Home Assistant. Imagine the lights dimming automatically when you start a movie, creating the perfect cinematic atmosphere. This level of integration can transform your living room into a home theater with minimal effort.
To achieve this, you’ll need smart lights that are compatible with Home Assistant, such as Philips Hue or LIFX. Once integrated, you can control their brightness and color temperature through Home Assistant. Create an automation that triggers when you start playing a movie, dimming the lights to a preset level.
For example, you can set the lights to dim to 20% brightness and change to a warm color temperature when you start playing a movie on your Plex media player. You can also add additional actions to the automation, such as closing smart blinds or adjusting the thermostat for optimal comfort. These details can significantly enhance the viewing experience.
Consider adding a “movie night” scene in Home Assistant that combines all these elements. This scene would dim the lights, adjust the thermostat, close the blinds, and start your media player with a single command. This level of automation creates a truly immersive and convenient movie-watching experience.
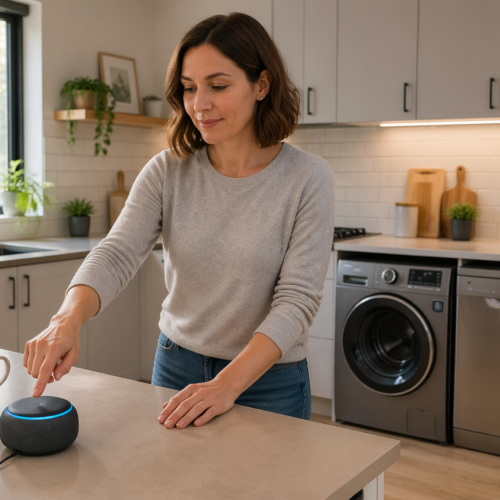
Integrating with Voice Assistants for Media Control
Integrating your media control automations with voice assistants like Google Assistant or Amazon Alexa takes convenience to the next level. Imagine simply saying, “Hey Google, start movie night,” and having your entire entertainment system spring to life. This seamless integration makes controlling your media devices incredibly easy and intuitive.
To integrate with a voice assistant, you’ll need to set up the corresponding integration in Home Assistant. For Google Assistant, this involves linking your Home Assistant account with your Google account and enabling the Home Assistant skill. Similarly, for Amazon Alexa, you’ll need to enable the Home Assistant skill and link your accounts.
Once the integration is set up, you can expose your media players, scenes, and automations to the voice assistant. This allows you to control them using voice commands. For example, you can say “Hey Google, play Stranger Things on Netflix” or “Alexa, turn on movie night”. The voice assistant will then execute the corresponding actions in Home Assistant.
To make the most of voice control, create clear and concise names for your scenes and automations. This makes it easier to remember and use voice commands. Also, consider setting up custom routines in your voice assistant app to combine multiple actions into a single command. This can further simplify your media control experience.
Creating Custom Media Control Scenes
Custom media control scenes allow you to group multiple actions into a single, easily accessible command. A scene can control your media player, adjust the lighting, set the thermostat, and more, all with one click or voice command. This level of customization can greatly simplify your home entertainment experience.
To create a scene in Home Assistant, navigate to the “Scenes” section and click “Add Scene”. You’ll then be able to define the state of various devices, such as your media player, lights, and thermostat. For example, a “Movie Night” scene might turn on your TV, set the volume to a comfortable level, dim the lights, and close the blinds.
- Set the media player to the desired input source
- Adjust the volume to a comfortable level
- Dim the smart lights to a specific brightness
- Close smart blinds or curtains
- Set the thermostat to a comfortable temperature
Once you’ve defined the scene, you can activate it from the Home Assistant interface, through an automation, or via a voice command. This makes it incredibly easy to create the perfect ambiance for any occasion. Scenes are a powerful way to streamline your media control and create a more enjoyable home entertainment experience.
Troubleshooting Common Issues
While setting up Home Assistant media control automation, you might encounter some common issues. One frequent problem is devices not being discovered or properly integrated. This can often be resolved by ensuring that your devices are on the same network as your Home Assistant instance and that you have the correct integrations installed.
Another issue can be automations not triggering as expected. Check your automation configuration to ensure that the triggers and conditions are correctly defined. Also, verify that the devices involved are reporting the correct states. Debugging tools within Home Assistant can help identify the root cause of these issues.
Sometimes, voice control integration may not work seamlessly. Ensure that your Home Assistant skill is properly linked with your voice assistant account. Also, double-check the names of your devices and scenes to avoid any confusion during voice commands. Regularly updating your Home Assistant instance and integrations can also prevent many common issues.
If you’re still facing problems, the Home Assistant community forums are a great resource for finding solutions and getting help from other users. Remember to provide detailed information about your setup and the issues you’re experiencing when seeking assistance. With a bit of troubleshooting, you can overcome these challenges and enjoy a fully automated media control system.
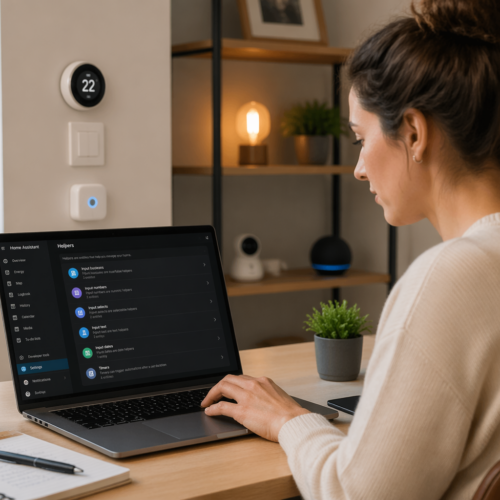
Advanced Customization Options
For those seeking even more control and customization, Home Assistant offers advanced options for media control automation. This includes using custom scripts, templates, and advanced logic to create highly personalized experiences. These options allow you to tailor your media control system to your exact needs and preferences.
Custom scripts allow you to define a sequence of actions that can be triggered by an automation or scene. This is useful for complex scenarios that require multiple steps. For example, you can create a script that checks the current time and adjusts the lighting and volume accordingly, ensuring the perfect ambiance for different times of day.
Templates enable you to dynamically generate configurations based on variables and conditions. This allows you to create automations that adapt to different situations. For instance, you can use a template to adjust the volume based on the current noise level in the room, using a microphone sensor to measure ambient sound.
Advanced logic, such as using conditional statements and loops, can further enhance your automations. This allows you to create complex rules that respond to multiple factors. For example, you can create an automation that only dims the lights if it’s after sunset and the TV is playing a movie. These advanced options provide endless possibilities for customization.
Ensuring Security and Privacy
When setting up any smart home automation system, security and privacy should be a top priority. Home Assistant offers several features to help you protect your data and prevent unauthorized access. Implementing these measures is crucial for maintaining a secure and private smart home environment.
First, ensure that your Home Assistant instance is protected with a strong password. Enable two-factor authentication for added security. This makes it much harder for unauthorized users to gain access to your system. Also, keep your Home Assistant instance and integrations up to date to patch any security vulnerabilities.
When integrating with voice assistants, review the permissions you grant to the Home Assistant skill. Limit the access to only the devices and services that are necessary. Be mindful of the data that is being shared with third-party services. Consider using a virtual private network (VPN) to encrypt your internet traffic and protect your data from eavesdropping.
Finally, regularly review your Home Assistant configuration and automations to ensure that they are not exposing any sensitive information. By taking these precautions, you can enjoy the convenience of smart home automation while maintaining a high level of security and privacy. Protecting your personal information is key to feeling safe and secure in your smart home.
Conclusion
Home Assistant media control automation offers a powerful way to enhance your home entertainment experience. By integrating your media players, smart TVs, and voice assistants, you can create a seamless and intuitive control system. Automating tasks like dimming the lights and starting your favorite movie with a single command can transform your living room into a smart entertainment hub.
Remember to prioritize security and privacy while setting up your system. Regularly update your software, use strong passwords, and review your permissions. With a little effort, you can create a truly personalized and convenient media control system that enhances your enjoyment of your home entertainment setup. Enjoy your automated media experience!