Indoor air quality is often overlooked, yet it significantly impacts our health and well-being. Poor air quality can lead to various health issues, from allergies and asthma to more severe respiratory problems. Fortunately, with Home Assistant, you can create a smart home environment that actively monitors and improves the air you breathe.
This article will guide you through setting up Home Assistant air quality automation, using air quality sensors, air purifiers, and ventilation systems. By integrating these devices, you can create a healthier and more comfortable living space for yourself and your family.
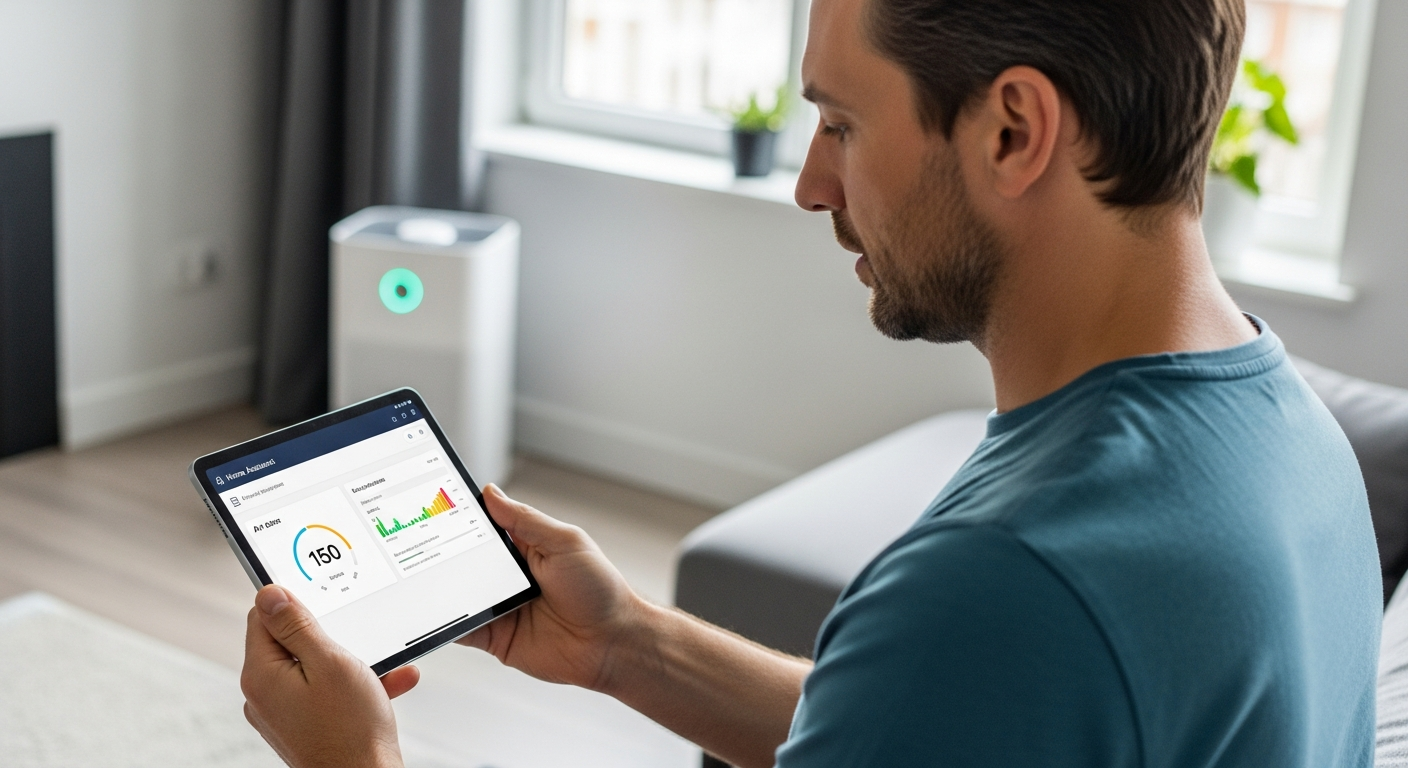
Let’s explore how to leverage the power of Home Assistant to achieve optimal air quality in your home. By the end, you’ll have a solid understanding of how to automate air quality control and breathe easier.
Choosing the Right Air Quality Sensors
Selecting the appropriate air quality sensor is the first step towards effective air quality automation. Different sensors measure various pollutants, so choosing one that fits your specific needs is important. Consider what pollutants are most concerning in your area.
For example, if you live in an area with frequent wildfires, you might prioritize a sensor that accurately measures PM2.5. If you are concerned about indoor sources of pollution, such as cooking or cleaning products, you might want a sensor that measures VOCs.
Popular options include the Sensirion SPS30 for PM2.5, the Awair Element for VOCs and CO2, and the AirThings Wave Plus for radon, VOCs, CO2, and humidity. Each of these sensors offers different features and levels of accuracy, so research to find the best fit for your needs. Consider the sensor’s accuracy, integration capabilities, and price point when making your decision.
Also, check if the sensor is compatible with Home Assistant for seamless integration. Many sensors offer direct integration through Wi-Fi or Zigbee, making the setup process easier. Choosing the right air quality sensor is a crucial step in creating a smart home that prioritizes your health and well-being.
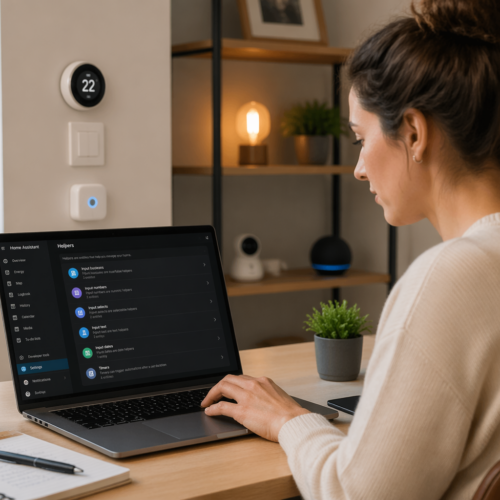
Integrating Air Quality Sensors into Home Assistant
Once you’ve selected your air quality sensor, the next step is to integrate it into your Home Assistant setup. This process typically involves adding the sensor as a new device in Home Assistant and configuring its settings. The exact steps will vary depending on the sensor you choose, but here’s a general overview.
For Wi-Fi-enabled sensors, you’ll usually need to connect the sensor to your home network and then add it to Home Assistant through the integrations panel. For Zigbee sensors, you’ll need a Zigbee hub connected to your Home Assistant instance, such as a Conbee II or a Sonoff Zigbee 3.0 USB Dongle Plus.
Once the sensor is added, Home Assistant will automatically detect the available entities, such as PM2.5 levels, VOC levels, and temperature. You can then customize the sensor’s settings, such as the display name and unit of measurement, to better suit your preferences. Make sure the sensor is placed in a location that accurately reflects the air quality in your home.
Avoid placing it near sources of pollution, such as a kitchen stove or a fireplace, as this could skew the readings. With your air quality sensor successfully integrated into Home Assistant, you’re ready to start monitoring and automating your home’s air quality. This integration lays the foundation for a smarter and healthier living environment.
Monitoring PM2.5, CO2, and VOCs
Understanding the different types of pollutants and their potential health impacts is essential for effective air quality management. PM2.5, CO2, and VOCs are three of the most common and concerning indoor air pollutants. Each of these pollutants has unique sources and health effects, so monitoring them separately is important.
PM2.5 refers to fine particulate matter with a diameter of 2.5 micrometers or less, which can penetrate deep into the lungs and cause respiratory and cardiovascular problems. CO2, or carbon dioxide, is a byproduct of human respiration and combustion, and high levels can cause drowsiness and headaches. VOCs, or volatile organic compounds, are emitted from various household products, such as paints, cleaning supplies, and furniture, and can cause eye, nose, and throat irritation, as well as more serious health issues with long-term exposure.
| Pollutant | Sources | Health Effects |
|---|---|---|
| PM2.5 | Combustion, wildfires, dust | Respiratory and cardiovascular problems |
| CO2 | Respiration, combustion | Drowsiness, headaches |
| VOCs | Paints, cleaning supplies, furniture | Eye, nose, and throat irritation |
| Radon | Natural gas, soil | Lung cancer |
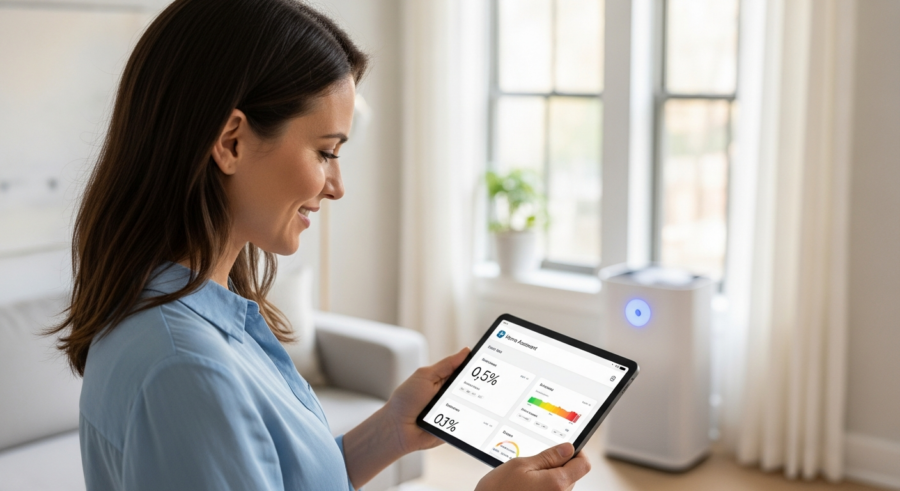
By monitoring these pollutants with your air quality sensors, you can gain valuable insights into the air quality in your home. You can then use this information to make informed decisions about how to improve your indoor environment. This proactive approach helps ensure a healthier and more comfortable living space.
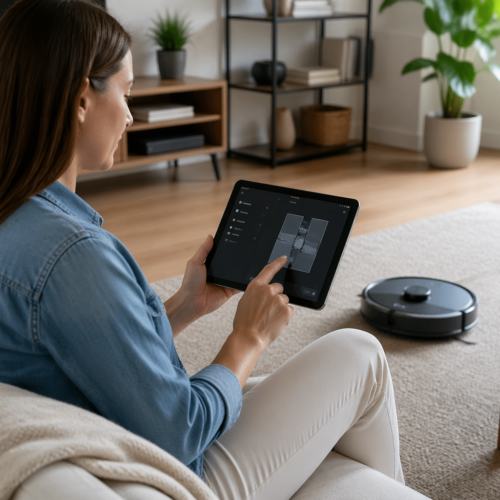
Automating Air Purifier and Ventilation Systems
Once you’re monitoring air quality, you can automate your air purifier and ventilation systems to respond to changes in pollutant levels. This ensures that your air purification and ventilation systems are only running when needed, saving energy and extending the lifespan of your equipment. Home Assistant allows you to create automations that trigger specific actions based on sensor readings.
For example, you can set up an automation that turns on your air purifier when the PM2.5 level exceeds a certain threshold. You can also create an automation that opens your smart windows or turns on your ventilation system when the CO2 level gets too high. These automations can be customized to fit your specific needs and preferences.
To automate an air purifier, you’ll need a smart air purifier that can be controlled via Wi-Fi or Zigbee. You can then add the air purifier to Home Assistant and create an automation that turns it on or off based on the sensor readings. For ventilation systems, you’ll need a smart ventilation system or a smart switch that can control the fan.
By automating your air purifier and ventilation systems, you can create a smart home that actively responds to changes in air quality. This ensures that you’re always breathing the cleanest air possible, without having to manually adjust your equipment. This level of automation contributes to a healthier and more comfortable living environment.
Integrating Weather Data for Enhanced Automation
Integrating weather data into your Home Assistant air quality automations can further enhance their effectiveness. By considering external factors like outdoor air quality and weather conditions, you can make more informed decisions about when to ventilate your home. This integration allows for a more nuanced and responsive air quality control system.
For example, you might want to avoid ventilating your home when the outdoor air quality is poor due to wildfires or high pollen counts. You can use weather integrations in Home Assistant to access outdoor air quality data and adjust your ventilation automations accordingly. This ensures that you’re not inadvertently bringing polluted air into your home.
To integrate weather data, you can use integrations like the OpenWeatherMap or AccuWeather. These integrations provide access to a wide range of weather data, including air quality, temperature, humidity, and wind speed. You can then use this data in your Home Assistant automations to make more informed decisions about air quality control.
By considering both indoor and outdoor air quality, you can create a smart home that proactively protects your health and well-being. This comprehensive approach to air quality management ensures that you’re always breathing the cleanest air possible, regardless of external conditions. This integration adds a layer of intelligence to your air quality automation system.
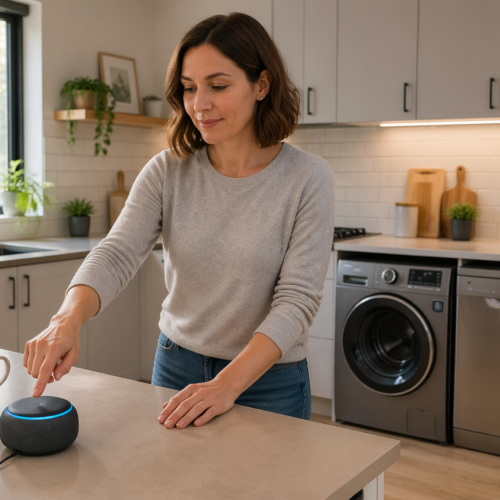
Setting Up Notifications for Poor Air Quality
Receiving timely notifications when air quality deteriorates is crucial for taking prompt action to protect your health. Home Assistant allows you to set up notifications that alert you when sensor readings exceed predefined thresholds. These notifications can be sent via various channels, such as email, SMS, or push notifications through the Home Assistant app.
For example, you can set up a notification that alerts you when the PM2.5 level exceeds a certain threshold, indicating poor air quality. You can also set up notifications for high CO2 or VOC levels, allowing you to take immediate action to improve ventilation. These notifications provide valuable real-time information, enabling you to respond quickly to changing air quality conditions.
- Set PM2.5 threshold
- Set CO2 threshold
- Set VOC threshold
- Choose notification channel
- Customize message
To set up notifications, you can use the automation editor in Home Assistant. Simply create a new automation that triggers when the sensor reading exceeds the specified threshold and sends a notification to your preferred channel. You can customize the message to provide specific information about the air quality issue and recommended actions.
Creating Custom Air Quality Control Schedules
While automated responses to real-time air quality conditions are essential, creating custom air quality control schedules can further optimize your indoor environment. This involves setting up predefined schedules for air purification and ventilation based on your daily routines and habits. Custom schedules allow you to proactively manage air quality, even when pollutant levels are within acceptable ranges.
For example, you might want to schedule your air purifier to run at a higher speed during peak cooking times or when you’re doing activities that generate dust or VOCs. You can also schedule your ventilation system to run for a certain period each day to ensure adequate air exchange. These schedules can be customized to fit your specific needs and preferences.
To create custom schedules, you can use the automation editor in Home Assistant. Simply create automations that trigger at specific times of day and adjust the settings of your air purifier and ventilation systems accordingly. You can also use the Home Assistant calendar integration to create more complex schedules that vary based on the day of the week or specific events.
By combining real-time automated responses with custom schedules, you can create a comprehensive air quality control system that proactively protects your health and well-being. This dual approach ensures that your indoor environment is always optimized for clean and healthy air. Custom schedules add an extra layer of control and personalization to your air quality automation.
Advanced Techniques: Machine Learning and Predictive Modeling
For those seeking even greater control over their air quality, advanced techniques like machine learning and predictive modeling offer exciting possibilities. By analyzing historical air quality data and identifying patterns, you can create models that predict future air quality conditions. This allows you to proactively adjust your air purification and ventilation systems to prevent pollutant levels from exceeding acceptable ranges.
For example, you could train a machine learning model to predict PM2.5 levels based on weather data, time of day, and historical air quality data. You can then use this model to adjust your air purifier settings in advance of predicted increases in PM2.5 levels. Similarly, you could use predictive modeling to optimize your ventilation schedule based on occupancy patterns and historical CO2 levels.
To implement these advanced techniques, you’ll need to use machine learning libraries like TensorFlow or scikit-learn, which can be integrated into Home Assistant through custom components or Node-RED. You’ll also need to collect a sufficient amount of historical air quality data to train your models. This may require running your air quality sensors for an extended period of time.
While these techniques require more technical expertise, they offer the potential for highly personalized and effective air quality control. By leveraging the power of machine learning and predictive modeling, you can create a smart home that anticipates your needs and proactively protects your health. These advanced methods represent the cutting edge of air quality automation.
Troubleshooting Common Issues
Even with careful planning and setup, you may encounter issues when implementing Home Assistant air quality automation. Here are some common problems and how to troubleshoot them. One common issue is inaccurate sensor readings, which can be caused by improper sensor placement or calibration issues.
Make sure your sensors are placed in locations that accurately reflect the air quality in your home and that they are properly calibrated according to the manufacturer’s instructions. Another common issue is unreliable communication between the sensors and Home Assistant. This can be caused by network connectivity problems or issues with the Zigbee or Wi-Fi hub.
Check your network connection and make sure your Zigbee or Wi-Fi hub is functioning properly. You may also need to update the firmware of your sensors or hub to resolve compatibility issues. If your automations are not working as expected, double-check the trigger conditions and actions to make sure they are configured correctly.
Also, check the Home Assistant logs for any error messages that may provide clues about the problem. By systematically troubleshooting these common issues, you can ensure that your Home Assistant air quality automation system is running smoothly and effectively. Don’t hesitate to consult the Home Assistant community forums for additional support and guidance.
Conclusion
Automating air quality control with Home Assistant offers a powerful way to improve your indoor environment and protect your health. By choosing the right sensors, integrating them into Home Assistant, and setting up automations and notifications, you can create a smart home that actively monitors and responds to changes in air quality. This proactive approach ensures that you’re always breathing the cleanest air possible.
Whether you’re concerned about PM2.5, CO2, VOCs, or other pollutants, Home Assistant provides the tools you need to create a customized air quality control system that fits your specific needs. From basic automations to advanced techniques like machine learning, the possibilities are endless. Take control of your indoor air quality and breathe easier with Home Assistant.