Imagine returning home to find water gushing out from under your refrigerator. A burst pipe, a leaky appliance, or even a slow drip can cause significant damage, leading to costly repairs and potential health hazards. Fortunately, with a little DIY ingenuity and the power of smart home automation, you can take preventative action.
By implementing a Home Assistant leak detection automation, you can receive immediate alerts when water is detected, allowing you to address the problem before it escalates. This article will guide you through the process of setting up a comprehensive leak detection system using Home Assistant, ensuring your home stays safe and dry. Let’s get started.
We’ll explore the selection of appropriate water sensors, integrating them seamlessly into your Home Assistant setup. We’ll also cover configuring automations to trigger notifications and even shut off water valves automatically. This will help you protect your property and provide peace of mind, whether you’re at home or away.
Choosing the Right Water Leak Sensors
The first step in building a robust Home Assistant leak detection automation is selecting the appropriate water sensors. With a variety of options available, it’s important to consider your specific needs and budget. Factors like sensor range, battery life, and integration capabilities will influence your decision.
Consider the areas you want to protect, such as under sinks, near washing machines, and in basements. Think about the sensor’s placement and how easily it can be accessed for maintenance. A reliable water sensor is the foundation of your leak detection system.
One popular option is the Zigbee-based water sensor, known for its reliable connectivity and long battery life. These sensors integrate seamlessly with Home Assistant through a Zigbee hub. They typically provide accurate and timely alerts when water is detected.
Wi-Fi-based sensors are another viable choice, offering direct connection to your home network without requiring a separate hub. However, they may consume more battery power compared to Zigbee sensors. Ensure your Wi-Fi network provides adequate coverage in the areas where you plan to install these sensors.
Integrating Leak Sensors into Home Assistant
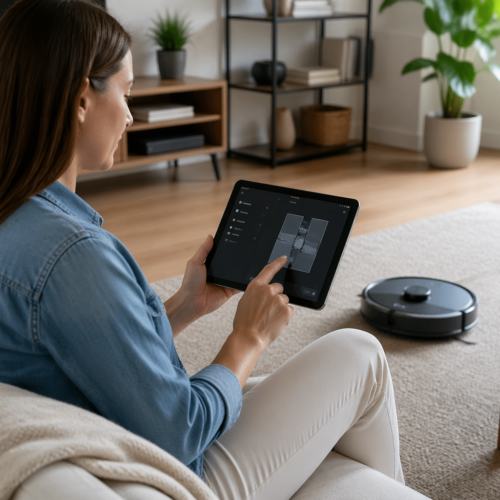
Once you’ve selected your water sensors, the next step is to integrate them into Home Assistant. This involves connecting the sensors to your Home Assistant instance and configuring them to report their status. The integration process will vary depending on the type of sensor you’re using.
For Zigbee sensors, you’ll need a Zigbee hub compatible with Home Assistant, such as a Sonoff Zigbee 3.0 USB Dongle Plus. After installing the Zigbee hub, you can use the ZHA (Zigbee Home Automation) integration to add your water sensors. Follow the pairing instructions provided with your sensor to connect it to the Zigbee network.
If you’re using Wi-Fi sensors, you’ll typically need to install a custom integration or use the manufacturer’s integration if available. Search for the specific model of your sensor in the Home Assistant Community Store (HACS). Follow the instructions provided with the integration to configure the sensor and connect it to your Wi-Fi network.
After the sensors are connected, verify that they’re reporting their status correctly in Home Assistant. You should see entities for each sensor, indicating whether water is detected or not. Rename the entities to something descriptive, such as “Kitchen Sink Water Sensor” or “Washing Machine Leak Detector,” to make them easier to identify in your automations.
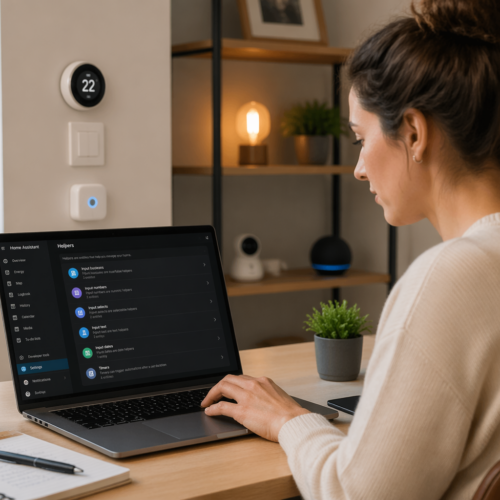
Setting Up Automations for Leak Detection
With your water sensors integrated into Home Assistant, you can now create automations to respond to leak detection events. Automations allow you to define specific actions to take when a sensor detects water. This could include sending notifications, turning off water valves, or triggering other smart home devices.
To create an automation, navigate to the Automation section in Home Assistant and click “Create Automation.” Choose a descriptive name for your automation, such as “Kitchen Sink Leak Alert,” to easily identify its purpose. The automation consists of triggers, conditions, and actions.
| Component | Description | Example |
|---|---|---|
| Trigger | The event that starts the automation | Water sensor detects water |
| Condition | Optional criteria that must be met for the automation to run | Time of day is between 8 AM and 6 PM |
| Action | The actions to be performed when the trigger occurs and conditions are met | Send a notification to your phone |
| Action | The actions to be performed when the trigger occurs and conditions are met | Turn off the water valve |
Set the trigger to be the water sensor detecting water. For the entity, select the water sensor you want to monitor. Set the “to” state to “on” or “wet,” depending on how the sensor reports its status.
Sending Notifications and Shutting Off Water Valves
One of the most important actions in your leak detection automation is sending notifications. You can configure Home Assistant to send notifications to your phone, tablet, or other devices when a leak is detected. This allows you to respond quickly, even when you’re not at home.
To send notifications, add an action to your automation and select the “Call Service” action type. Choose the “notify.mobileapp” service, replacing “mobileapp” with the name of your mobile app integration. In the “message” field, enter the text you want to send in the notification, such as “Water leak detected in the kitchen sink area!”
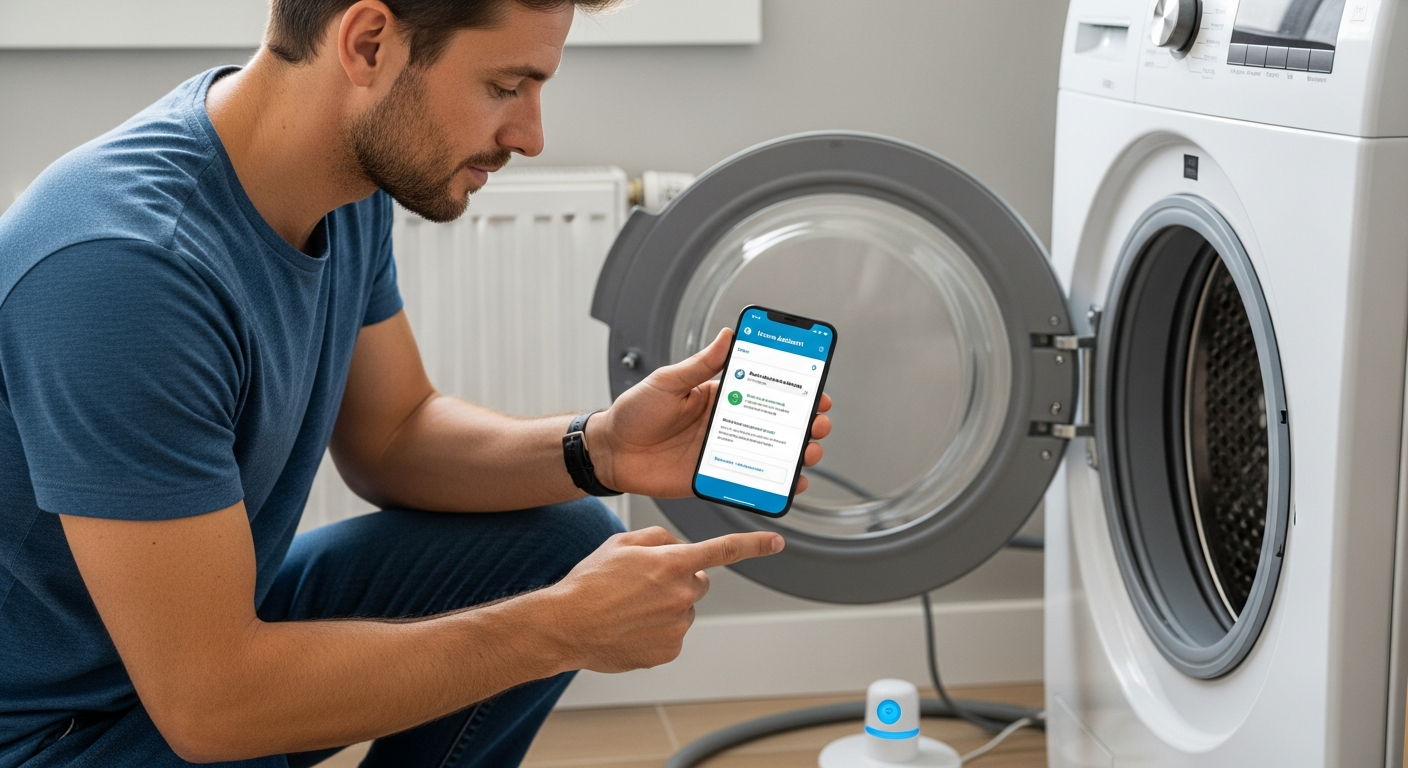
For added protection, consider integrating a smart water valve into your Home Assistant setup. A smart water valve allows you to remotely shut off the water supply to your home, preventing further damage from a leak. Several smart water valves are compatible with Home Assistant, including those from brands like Flo by Moen and Dome.
To control a smart water valve, add another action to your automation and select the “Call Service” action type. Choose the “watervalve.closevalve” service and select the entity ID of your smart water valve. This will automatically shut off the water supply when a leak is detected, minimizing potential damage.
Testing and Maintaining Your Leak Detection System
Once you’ve set up your Home Assistant leak detection automation, it’s important to test it thoroughly. Testing ensures that the sensors are working correctly. It also makes sure that the notifications are being sent and the water valve is shutting off as expected.
To test your system, simulate a leak by placing a wet cloth or sponge near the water sensor. Verify that the sensor detects the water and that you receive a notification on your phone. If you have a smart water valve, confirm that it shuts off automatically.
Regular maintenance is also crucial for ensuring the long-term reliability of your leak detection system. Check the batteries in your water sensors periodically and replace them as needed. Clean the sensors to remove any dirt or debris that could interfere with their performance.
Inspect your plumbing regularly for any signs of leaks or damage. Address any issues promptly to prevent them from escalating into major problems. A well-maintained leak detection system is your first line of defense against water damage.
Preventing False Alarms
False alarms can be a nuisance, so it’s important to take steps to minimize their occurrence. False alarms can be triggered by condensation, spills, or even high humidity levels. By implementing a few preventative measures, you can reduce the likelihood of false alarms and ensure that your leak detection system is only triggered when a real leak occurs.
One strategy is to adjust the sensitivity of your water sensors. Some sensors allow you to adjust the threshold at which they detect water. Lowering the sensitivity can help prevent false alarms caused by minor moisture or condensation.
- Position sensors away from direct sources of moisture
- Use a drip tray under appliances to contain small leaks
- Implement a delay in your automation to confirm the leak
- Add a condition to your automation to check humidity levels
- Regularly inspect and clean your sensors
By taking these steps, you can minimize false alarms and ensure that your Home Assistant leak detection automation is a reliable and effective tool for protecting your home. A well-configured system will provide peace of mind without unnecessary disruptions.
Advanced Automation Techniques
Once you have the basics of leak detection set up, you can explore advanced automation techniques to further enhance your system. These techniques can provide more granular control and customization, tailoring your leak detection system to your specific needs. Here are some ideas to get you started.
One advanced technique is to integrate your leak detection system with your home’s security system. For example, if a leak is detected while the security system is armed, you could trigger additional actions. This could include notifying the security company or sounding an alarm to alert neighbors.
You can also create more complex automations based on the duration of the leak. For instance, if a leak is detected for more than a certain period, you could trigger a more urgent notification or take additional actions. This could help differentiate between minor spills and more serious leaks.
Another advanced technique is to use machine learning to predict potential leaks. By analyzing historical water usage data and other environmental factors, you can train a machine learning model to identify patterns that may indicate a future leak. This can allow you to take preventative action before a leak actually occurs.
DIY vs. Professional Installation
When setting up a Home Assistant leak detection automation, you have the option of DIY installation or professional installation. DIY installation can be a cost-effective way to get started, but it requires some technical knowledge and time. Professional installation can be more expensive. But it offers the convenience of having a trained technician handle the setup and configuration.
DIY installation is suitable if you’re comfortable working with smart home devices and have some experience with Home Assistant. It involves selecting the right sensors, integrating them into Home Assistant, and configuring automations. This approach gives you full control over the system and allows you to customize it to your specific needs.
Professional installation is a good option if you’re not comfortable with the technical aspects of setting up a leak detection system. A professional installer can assess your home’s needs, recommend the appropriate sensors, and handle the installation and configuration process. This can save you time and ensure that the system is set up correctly.
Consider your budget, technical skills, and time constraints when deciding between DIY and professional installation. Both approaches can provide effective leak detection. The best choice depends on your individual circumstances and preferences.
Troubleshooting Common Issues
Even with careful planning and setup, you may encounter issues with your Home Assistant leak detection automation. Troubleshooting these issues is an important part of maintaining a reliable system. Here are some common problems and how to resolve them.
One common issue is that the water sensor isn’t reporting its status correctly. This could be due to a dead battery, a weak Zigbee or Wi-Fi signal, or a configuration problem. Check the battery level of the sensor and replace it if necessary.
Another common issue is that notifications aren’t being sent. This could be due to a problem with your mobile app integration or a misconfiguration in your automation. Verify that your mobile app integration is set up correctly and that you’ve granted the necessary permissions. Check the automation to ensure that the notification action is configured properly.
If your smart water valve isn’t shutting off automatically, check the valve’s connection to Home Assistant and verify that the automation is configured correctly. Ensure that the valve is compatible with Home Assistant and that you’ve installed the necessary integration. Test the valve manually to confirm that it’s working properly.
Future Trends in Leak Detection
The field of leak detection is constantly evolving, with new technologies and approaches emerging regularly. Staying informed about these trends can help you make better decisions about your leak detection system and ensure that you’re taking advantage of the latest innovations. Here are some future trends to watch.
One trend is the increasing use of AI and machine learning in leak detection. AI-powered systems can analyze water usage data to identify patterns that may indicate a leak, even before it’s detected by a sensor. This can provide early warning and allow you to take preventative action.
Another trend is the development of more sophisticated water sensors. These sensors can measure a wider range of parameters, such as water pressure, temperature, and flow rate. This can provide more detailed information about potential leaks and help you identify the source of the problem.
The integration of leak detection systems with other smart home devices is also becoming more common. This allows you to create more comprehensive automations that respond to leaks in a coordinated way. For example, you could automatically turn off the water heater or adjust the thermostat to prevent further damage.
Conclusion
Implementing a Home Assistant leak detection automation is a smart investment for any homeowner. By taking proactive steps to protect your property from water damage, you can save money, prevent headaches, and gain peace of mind. The initial setup requires time, but is well worth the effort.
From selecting the right water sensors to configuring automations and testing your system, this article has provided a comprehensive guide to setting up a robust leak detection system. By following these steps, you can create a system that meets your specific needs and provides reliable protection against water damage. Don’t wait until it’s too late, protect your home today.