Conclusion
Creating a smart entryway with Home Assistant door open automation is a rewarding project that can enhance both the convenience and security of your home. By choosing the right door sensor, integrating it into Home Assistant, and setting up custom automations, you can create a smart hub that anticipates your needs.
Remember to prioritize local control and privacy when setting up your system. By keeping your data within your own network, you can ensure that your smart home remains secure and responsive.
With a little effort, you can transform your entryway into a smart, secure, and welcoming space. Start experimenting with different automations and integrations to create a system that perfectly fits your lifestyle.
The journey of building a smart home is an ongoing process of learning and experimentation. Embrace the challenges and enjoy the rewards of creating a personalized and automated living space.
Share your experiences and insights with the Home Assistant community to help others learn and grow. Together, we can create a more connected and intelligent world.
Continue to explore new possibilities and push the boundaries of what’s possible with smart home technology. The future of smart homes is bright, and we are all part of shaping it.
Maintaining Your Smart Entryway System
Once your smart entryway system is up and running, it’s important to maintain it to ensure optimal performance. This includes regularly checking the batteries in your wireless sensors and updating your Home Assistant installation.
Keep an eye on the Home Assistant community forums for updates and bug fixes. Regularly updating your system will ensure that you have the latest features and security patches.
Also, consider backing up your Home Assistant configuration regularly. This will allow you to quickly restore your system in case of a hardware failure or other issue.
Finally, be sure to clean your door sensors regularly to remove dust and debris. This will help ensure that they continue to function properly.
Create a maintenance schedule to ensure that you regularly check and maintain your smart entryway system. This will help prevent problems from occurring and keep your system running smoothly.
Monitor the performance of your smart entryway system to identify any potential issues. This can help you detect and resolve problems before they become serious.
Consider using a smart home monitoring service to monitor your system and provide alerts if any problems are detected. This can provide an extra layer of security and peace of mind.
Document your smart entryway system configuration to make it easier to troubleshoot and maintain. This will also be helpful if you ever need to transfer your system to a new owner.
Conclusion
Creating a smart entryway with Home Assistant door open automation is a rewarding project that can enhance both the convenience and security of your home. By choosing the right door sensor, integrating it into Home Assistant, and setting up custom automations, you can create a smart hub that anticipates your needs.
Remember to prioritize local control and privacy when setting up your system. By keeping your data within your own network, you can ensure that your smart home remains secure and responsive.
With a little effort, you can transform your entryway into a smart, secure, and welcoming space. Start experimenting with different automations and integrations to create a system that perfectly fits your lifestyle.
The journey of building a smart home is an ongoing process of learning and experimentation. Embrace the challenges and enjoy the rewards of creating a personalized and automated living space.
Share your experiences and insights with the Home Assistant community to help others learn and grow. Together, we can create a more connected and intelligent world.
Continue to explore new possibilities and push the boundaries of what’s possible with smart home technology. The future of smart homes is bright, and we are all part of shaping it.
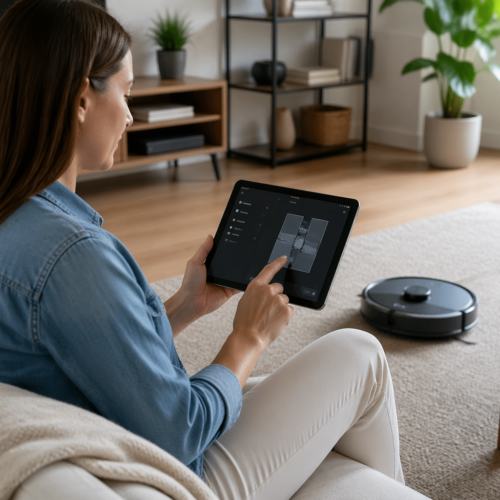
Creating a smart home doesn’t have to be complicated or expensive. By focusing on local control and leveraging the power of Home Assistant, you can achieve impressive automation without relying on cloud services. Let’s explore how to create a smart entryway using door sensors and Home Assistant, enhancing both convenience and security.
This setup can trigger a variety of actions, from turning on lights to sending notifications when someone enters or exits. We’ll walk through the process step by step, ensuring a seamless and secure experience.
With a little configuration, your entryway can become a smart hub that anticipates your needs. This guide will cover everything from selecting the right door sensor to setting up advanced automations.
Choosing the Right Door Sensor
The foundation of any Home Assistant door open automation is, naturally, a reliable door sensor. There are several types to choose from, each with its own pros and cons.
Consider factors like battery life, range, and compatibility with Home Assistant when making your decision. Wired sensors offer constant power but require more complex installation, while wireless sensors are easier to install but need periodic battery replacements.
Zigbee and Z-Wave sensors are popular choices due to their mesh networking capabilities and low power consumption. These protocols create a more robust and reliable network compared to Wi-Fi, which can be prone to congestion.
Bluetooth sensors are another option, but their range is typically limited. Wi-Fi sensors are easy to connect to your existing network but can drain batteries faster.
When selecting a door sensor, it’s crucial to consider the mounting location and the type of door you have. Some sensors are designed for flush mounting, while others are surface-mounted. Ensure the sensor you choose is compatible with your door frame and doesn’t interfere with the door’s operation.
Also, think about the aesthetics of the sensor. While functionality is important, you may want a sensor that blends in with your door frame or is discreetly hidden. Many manufacturers offer sensors in various colors and sizes to match different decor styles.
Don’t forget to read reviews and compare prices before making a purchase. User reviews can provide valuable insights into the real-world performance and reliability of different sensors. Comparing prices from different retailers can help you find the best deal.
Finally, consider the security aspects of the sensor. Some sensors offer tamper detection, which can alert you if someone tries to remove or disable the sensor. This can be an important feature for enhancing your home’s security.
Integrating the Door Sensor into Home Assistant
Once you’ve chosen a door sensor, the next step is to integrate it into Home Assistant. The integration process varies depending on the type of sensor you’ve selected.
For Zigbee and Z-Wave sensors, you’ll need a compatible hub, such as a Conbee II or a Z-Wave USB stick. Follow the manufacturer’s instructions to pair the sensor with your hub, then use the Home Assistant integrations to add the hub to your smart home setup.
For Wi-Fi sensors, you’ll typically need to install a custom integration or use the sensor’s cloud service. Be cautious when using cloud-based integrations, as they rely on an external server and may introduce latency or privacy concerns.
Once the sensor is added to Home Assistant, it will appear as an entity in your dashboard. You can then use this entity to trigger automations and create notifications.
Before starting the integration process, ensure that your Home Assistant instance is up to date. This will ensure that you have the latest integrations and bug fixes.
When adding a Zigbee or Z-Wave hub, make sure it’s placed in a central location in your home to maximize its range. Avoid placing it near metal objects or other sources of interference.
If you’re using a custom integration for a Wi-Fi sensor, carefully follow the installation instructions provided by the integration developer. Be sure to enter the correct credentials and configure the integration properly.
After adding the sensor to Home Assistant, test it thoroughly to ensure that it’s working correctly. Open and close the door several times and verify that the sensor’s state is being updated in Home Assistant.
Setting Up Door Open/Close Automations
Now that your door sensor is integrated, it’s time to set up some automations. Automations are the heart of any smart home system, allowing you to define actions that occur when specific events happen.
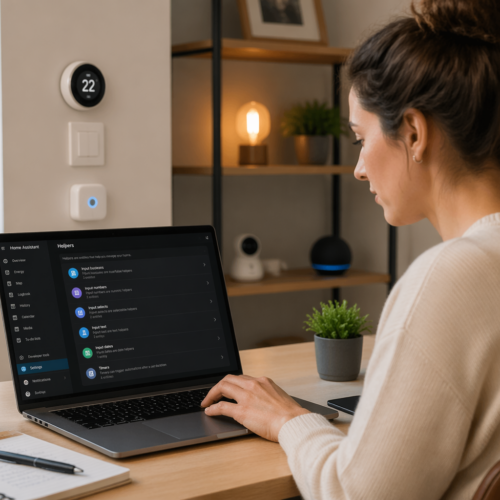
In Home Assistant, automations are created using a visual editor or by writing YAML code. The visual editor is a great option for beginners, while YAML offers more flexibility and control for advanced users.
| Trigger | Condition (Optional) | Action |
|---|---|---|
| Door sensor changes to ‘open’ | Time is between sunset and sunrise | Turn on entryway light |
| Door sensor changes to ‘closed’ | Entryway light is on | Turn off entryway light after 5 minutes |
| Door sensor changes to ‘open’ | User is not home | Send a notification |
| Door sensor changes to ‘open’ | Garage door is open | Close the garage door |
Consider the examples above to get started with your own automations. These automations can be customized to fit your specific needs and preferences.
When creating automations, start with simple ones and gradually add complexity as you become more comfortable. This will make it easier to troubleshoot any issues that arise.
Use clear and descriptive names for your automations so you can easily identify them later. This will be especially helpful if you have a large number of automations.
Take advantage of conditions to make your automations more intelligent. Conditions allow you to specify criteria that must be met before an automation is triggered.
Test your automations thoroughly after creating them to ensure they are working as expected. Use the Home Assistant logs to identify any errors or warnings.
Consider using the “waitfortrigger” action to create more complex automations that involve multiple steps. This action allows you to pause an automation until a specific event occurs.
Creating Notifications for Door Activity
Receiving notifications when your door opens or closes can be a great way to enhance security and stay informed. Home Assistant supports a variety of notification methods, including push notifications, email, and SMS.
To set up notifications, you’ll need to configure a notification platform in Home Assistant. The Home Assistant Companion app for iOS and Android is a popular choice for push notifications, offering reliable and customizable alerts.
Email notifications can be configured using your email provider’s SMTP settings. SMS notifications require a service like Twilio or a local GSM modem.
Once you’ve configured a notification platform, you can add a “notify” action to your automations. This action will send a message to your chosen platform whenever the automation is triggered.
When setting up notifications, consider the level of detail you want to receive. You can include information such as the time the door was opened or closed, the name of the sensor that triggered the notification, and the current state of other devices in your home.
Customize the notification sound or vibration pattern to distinguish door activity notifications from other alerts. This will allow you to quickly identify the source of the notification without having to look at your phone.
Use conditions to limit notifications to specific times of day or when certain conditions are met. For example, you may only want to receive notifications when the door is opened while you’re away from home.
Consider using actionable notifications to allow you to take action directly from the notification. For example, you could add a button to the notification that allows you to lock the door remotely.
Automating Lights and Music Upon Entry
One of the most convenient uses for a door sensor is automating lights and music upon entry. This can create a welcoming atmosphere and make it easier to find your way in the dark.
To automate lights, you’ll need smart bulbs or switches that are compatible with Home Assistant. Philips Hue, IKEA Tradfri, and Shelly devices are all popular choices.
- Turn on entryway lights when the door opens after sunset
- Adjust the brightness of the lights based on the time of day
- Play a welcome message or song when the door opens
- Turn off the lights after a set period of inactivity
- Integrate with motion sensors for more nuanced control
These integrations can add a touch of personalization to your smart home. You can also integrate with music services like Spotify or Pandora to play your favorite tunes when you arrive home.
Experiment with different lighting scenes to create the perfect ambiance for your entryway. You can create scenes for different times of day or for different occasions.
Consider using color-changing smart bulbs to add a splash of color to your entryway. You can set the lights to change color based on the time of year or your mood.
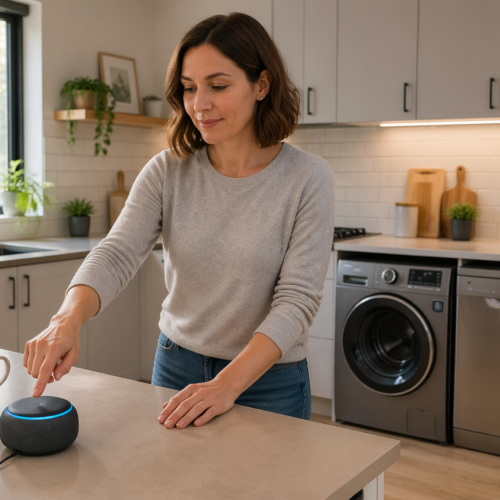
Integrate your door sensor with your smart speaker to play a custom welcome message when you arrive home. You can personalize the message to greet you by name or to provide information such as the weather forecast or your upcoming appointments.
Use motion sensors to detect when someone is in the entryway and adjust the lights and music accordingly. This can help save energy and prevent the lights from turning on unnecessarily.
Combining Door Automation with Security Systems
Door sensors can also be integrated with your security system to provide enhanced protection. By combining door automation with security features, you can create a comprehensive security solution.
For example, you can set up an automation to arm your security system when the door is closed and no one is home. You can also receive notifications if the door is opened unexpectedly or if a sensor is tampered with.
Consider integrating your door sensors with other security devices, such as motion detectors and security cameras. This can provide a more complete picture of what’s happening in and around your home.
Home Assistant also supports integration with professional security systems like SimpliSafe and Ring. This allows you to control your security system from within Home Assistant and create more advanced automations.
When integrating with a security system, carefully review the security implications of each integration. Ensure that you are not inadvertently creating any vulnerabilities in your system.
Consider using a two-factor authentication method to protect your Home Assistant account. This will help prevent unauthorized access to your security system.
Regularly review your security system logs to identify any suspicious activity. This can help you detect and prevent potential security breaches.
Keep your security system software up to date to ensure that you have the latest security patches. This will help protect your system from known vulnerabilities.
Advanced Automation Ideas
Once you have the basics down, you can start exploring more advanced automation ideas. The possibilities are endless, limited only by your imagination and the capabilities of your smart home devices.
Consider using presence detection to trigger different actions based on who is entering or leaving the house. You can use Bluetooth trackers or Wi-Fi presence detection to identify individual users.
You can also integrate your door sensor with your calendar to trigger different actions based on your schedule. For example, you can set up an automation to turn on the coffee maker when you leave for work in the morning.
Another idea is to use your door sensor to control your thermostat. When you leave the house, the thermostat can automatically set to an energy-saving mode, and when you return, it can adjust to your preferred temperature.
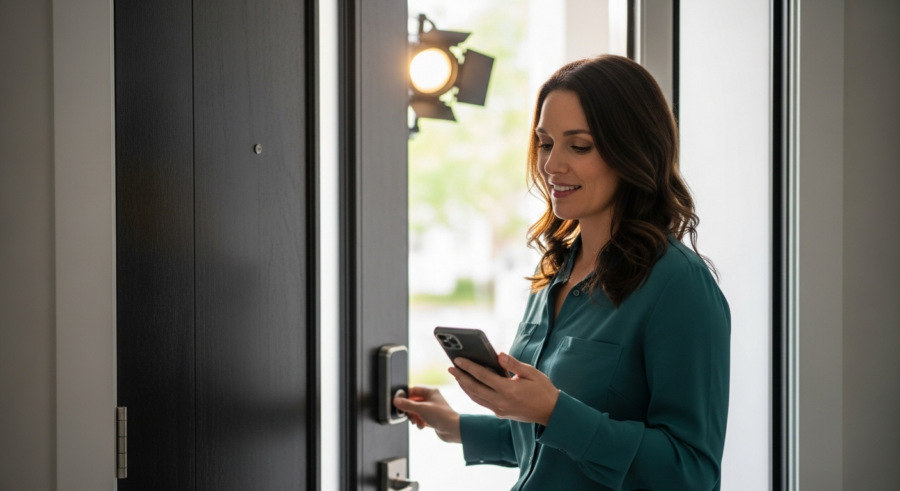
Implement geofencing to trigger automations based on your location. For example, you can set up an automation to unlock the door automatically when you arrive within a certain distance of your home.
Use voice control to control your door and other smart home devices. You can use Amazon Alexa or Google Assistant to lock or unlock the door, turn on the lights, or play music.
Integrate your door sensor with your smart irrigation system to adjust watering schedules based on the weather forecast. This can help save water and prevent overwatering your lawn.
Consider using machine learning to predict when you are likely to arrive home and adjust your smart home devices accordingly. This can help create a more seamless and personalized smart home experience.
Troubleshooting Common Issues
Even with careful planning, you may encounter issues when setting up your Home Assistant door open automation. Here are some common problems and how to troubleshoot them.
If your door sensor isn’t responding, check the battery and make sure it’s properly connected to your hub. Also, make sure the sensor is within range of the hub and that there are no obstructions interfering with the signal.
If your automations aren’t working as expected, double-check the triggers, conditions, and actions in your automation configuration. Use the Home Assistant logs to identify any errors or warnings.
If you’re experiencing connectivity issues with your Wi-Fi devices, try restarting your router and ensuring that your devices are connected to the correct network. Consider using a dedicated Wi-Fi network for your smart home devices to avoid congestion on your main network.
Check for interference from other electronic devices. Microwaves, cordless phones, and other devices can interfere with the signal from your door sensor.
Make sure your Home Assistant instance is running properly. Restart Home Assistant to resolve any temporary issues.
Consult the Home Assistant community forums for help with troubleshooting specific issues. The community is a valuable resource for finding solutions to common problems.
Consider using a network analyzer to identify any network issues that may be affecting your smart home devices. This can help you pinpoint the source of the problem and resolve it more quickly.
Maintaining Your Smart Entryway System
Once your smart entryway system is up and running, it’s important to maintain it to ensure optimal performance. This includes regularly checking the batteries in your wireless sensors and updating your Home Assistant installation.
Keep an eye on the Home Assistant community forums for updates and bug fixes. Regularly updating your system will ensure that you have the latest features and security patches.
Also, consider backing up your Home Assistant configuration regularly. This will allow you to quickly restore your system in case of a hardware failure or other issue.
Finally, be sure to clean your door sensors regularly to remove dust and debris. This will help ensure that they continue to function properly.
Create a maintenance schedule to ensure that you regularly check and maintain your smart entryway system. This will help prevent problems from occurring and keep your system running smoothly.
Monitor the performance of your smart entryway system to identify any potential issues. This can help you detect and resolve problems before they become serious.
Consider using a smart home monitoring service to monitor your system and provide alerts if any problems are detected. This can provide an extra layer of security and peace of mind.
Document your smart entryway system configuration to make it easier to troubleshoot and maintain. This will also be helpful if you ever need to transfer your system to a new owner.
Conclusion
Creating a smart entryway with Home Assistant door open automation is a rewarding project that can enhance both the convenience and security of your home. By choosing the right door sensor, integrating it into Home Assistant, and setting up custom automations, you can create a smart hub that anticipates your needs.
Remember to prioritize local control and privacy when setting up your system. By keeping your data within your own network, you can ensure that your smart home remains secure and responsive.
With a little effort, you can transform your entryway into a smart, secure, and welcoming space. Start experimenting with different automations and integrations to create a system that perfectly fits your lifestyle.
The journey of building a smart home is an ongoing process of learning and experimentation. Embrace the challenges and enjoy the rewards of creating a personalized and automated living space.
Share your experiences and insights with the Home Assistant community to help others learn and grow. Together, we can create a more connected and intelligent world.
Continue to explore new possibilities and push the boundaries of what’s possible with smart home technology. The future of smart homes is bright, and we are all part of shaping it.