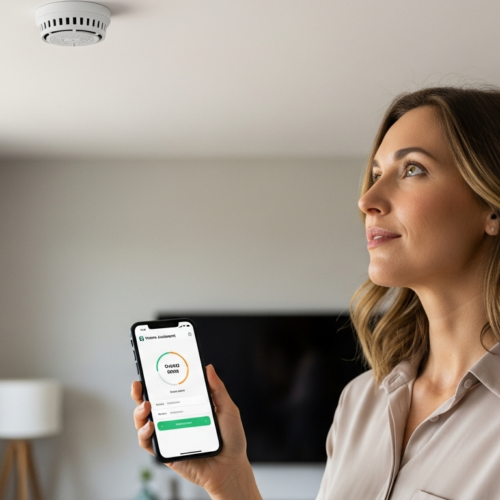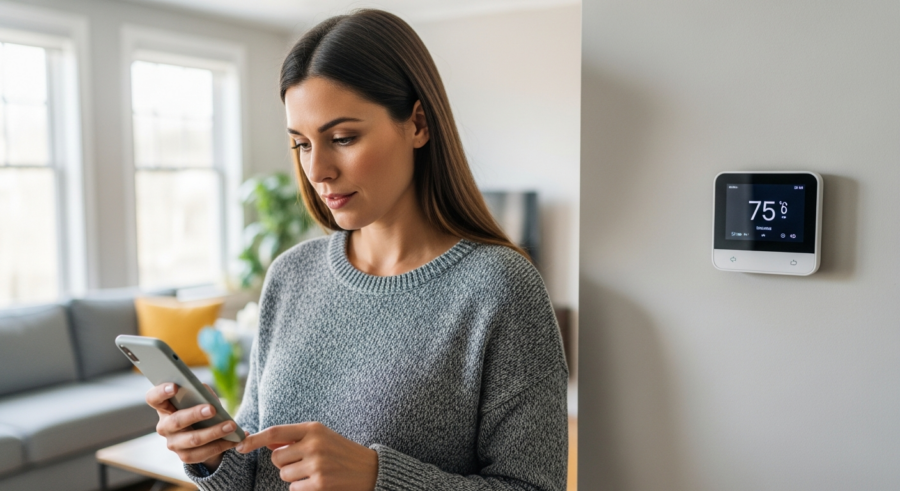
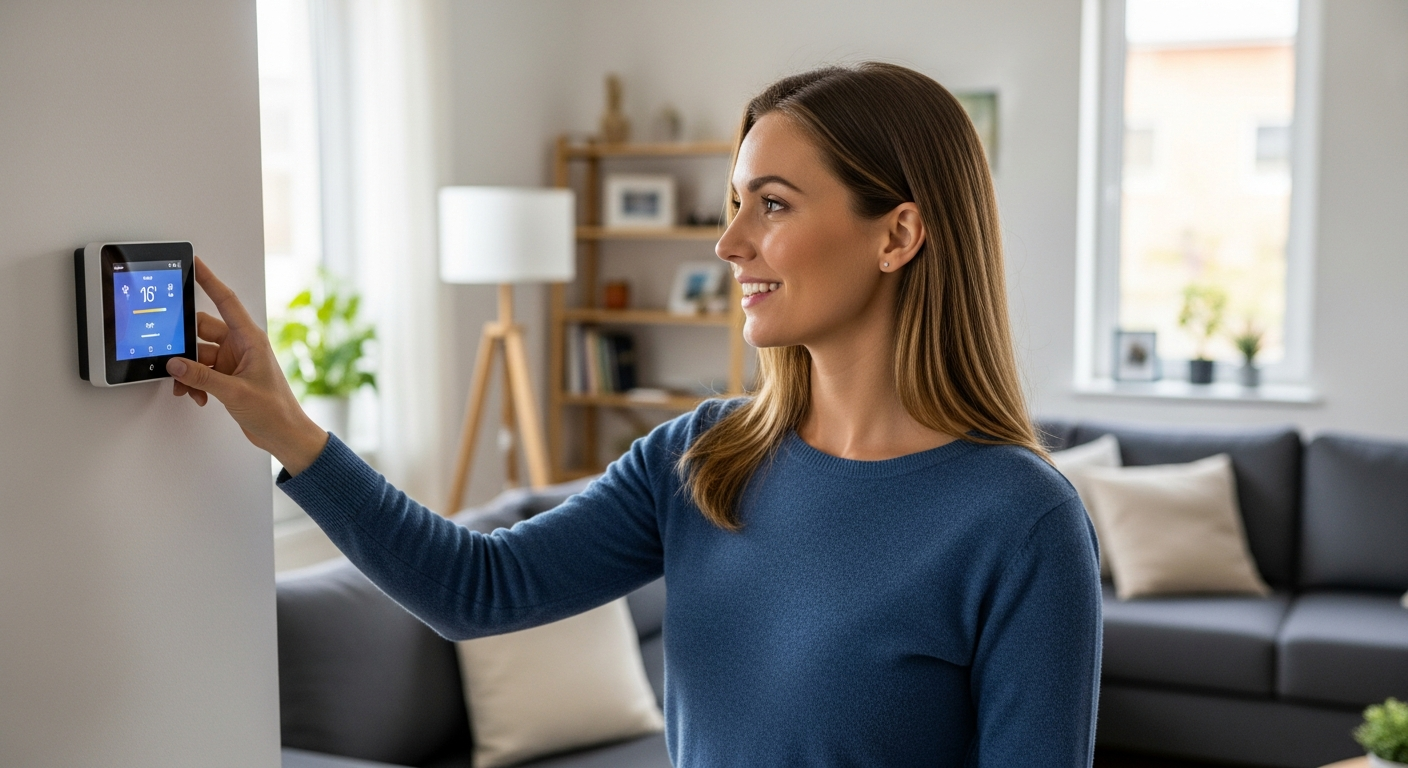
Smart thermostats have revolutionized home climate control, offering convenience and energy savings. Integrating them with a system like Home Assistant takes it a step further, offering unparalleled customization and automation possibilities. This article will guide you through the process of connecting and optimizing your smart thermostat with Home Assistant.
We will explore the benefits, discuss how to choose the right thermostat, and provide step-by-step instructions for setting up and troubleshooting your system. By the end, you’ll be equipped to create a truly smart and energy-efficient home environment.
Whether you’re a seasoned Home Assistant user or just starting out, this guide will provide valuable insights and practical tips. Let’s begin by examining the advantages of integrating your smart thermostat with Home Assistant.
Benefits of Using a Smart Thermostat with Home Assistant
Integrating your smart thermostat with Home Assistant provides a multitude of benefits, enhancing both convenience and energy efficiency. One of the most significant advantages is centralized control, allowing you to manage your thermostat alongside other smart home devices from a single interface.
This means you can control your lights, locks, and entertainment systems all from one place. It simplifies your home automation experience and makes it more user-friendly.
Another key benefit is advanced automation capabilities. Home Assistant allows you to create complex automation routines that respond to various triggers, such as time of day, occupancy, or even weather conditions.
For instance, you can set your thermostat to automatically lower the temperature when you leave for work and raise it again just before you return. This level of automation ensures optimal comfort and significant energy savings without any manual intervention.
Energy monitoring is another significant advantage. Home Assistant can track your thermostat’s energy usage, providing valuable insights into your heating and cooling habits.
This data can help you identify areas where you can further reduce energy consumption and lower your utility bills. By analyzing your energy usage patterns, you can make informed decisions about adjusting your thermostat settings for maximum efficiency.
Moreover, Home Assistant offers enhanced customization options. Unlike proprietary smart home systems, Home Assistant is open-source and highly customizable.
This allows you to tailor your thermostat’s behavior to your specific needs and preferences. You can create custom dashboards, integrate with third-party services, and even develop your own custom components to extend the functionality of your smart thermostat.
Choosing the Right Smart Thermostat
Selecting the right smart thermostat is a crucial first step in creating an effective smart home automation system. There are several factors to consider to ensure the thermostat meets your needs and integrates seamlessly with Home Assistant.
One of the most important considerations is compatibility. Check whether the thermostat is directly compatible with Home Assistant or requires a specific integration or hub.
| Thermostat Brand | Communication Protocol | Home Assistant Compatibility |
|---|---|---|
| Nest | Wi-Fi | Requires Nest API integration |
| Ecobee | Wi-Fi | Direct integration via Ecobee API |
| Honeywell | Wi-Fi, Z-Wave, Zigbee | Various integrations available |
| Tado° | Wi-Fi | Direct integration via Tado° API |
| Sensibo | Wi-Fi | Direct integration via Sensibo API |
Different thermostats use different communication protocols, such as Wi-Fi, Z-Wave, or Zigbee. Wi-Fi thermostats typically connect directly to your home network, while Z-Wave and Zigbee devices require a compatible hub to communicate with Home Assistant.
Another important factor to consider is smart thermostat features. Some thermostats offer advanced features such as occupancy detection, geofencing, and energy usage reporting.
Occupancy detection uses sensors to determine whether someone is home and adjusts the temperature accordingly. Geofencing uses your smartphone’s location to automatically adjust the thermostat when you leave or approach your home. Energy usage reporting provides detailed insights into your energy consumption patterns.
Energy efficient thermostat models are also worth considering. Look for thermostats with Energy Star certification, which indicates they meet strict energy efficiency guidelines set by the Environmental Protection Agency.
These thermostats are designed to minimize energy waste and can help you save money on your utility bills. Some models also offer features like learning algorithms that adapt to your heating and cooling preferences over time, optimizing energy usage automatically.
Finally, consider the user interface and ease of use. A thermostat with a clear, intuitive display and easy-to-use controls will make it simpler to manage your home’s temperature.
Many smart thermostats also offer mobile apps that allow you to control your thermostat remotely. Check reviews and try out the app if possible to ensure it meets your needs.
Connecting Your Thermostat to Home Assistant
Once you’ve chosen the right smart thermostat, the next step is connecting it to Home Assistant. The process will vary slightly depending on the thermostat model and communication protocol, but the general steps are similar.
First, ensure your thermostat is properly installed and connected to your home network. Follow the manufacturer’s instructions for physical installation and network configuration.
For Wi-Fi thermostats, this typically involves connecting the thermostat to your Wi-Fi network using the thermostat’s mobile app. For Z-Wave and Zigbee thermostats, you’ll need to pair the thermostat with your Z-Wave or Zigbee hub.
Next, access your Home Assistant instance through a web browser. Navigate to the “Configuration” panel and select “Integrations.”
Click the “+” button to add a new integration and search for your thermostat’s brand or model. If a direct integration is available, follow the on-screen instructions to configure it.
This may involve entering your thermostat’s credentials or authorizing Home Assistant to access your thermostat’s API. If a direct integration is not available, you may need to use a custom component or a generic integration like MQTT.
For example, if you’re using a Nest thermostat, you’ll need to set up a Nest Developer account and obtain the necessary API credentials. Then, you can use the Nest integration in Home Assistant to connect to your thermostat.
Once the integration is configured, Home Assistant should automatically discover your thermostat and create the necessary entities. These entities will allow you to control your thermostat’s settings, such as target temperature, operating mode, and fan speed.
Creating Heating and Cooling Schedules
One of the most effective ways to optimize your smart thermostat’s performance is by creating heating and cooling schedules. These schedules allow you to automatically adjust the temperature based on the time of day, ensuring comfort and energy savings.
Home Assistant provides several ways to create heating and cooling schedules. One option is to use the built-in “Scheduler” integration, which allows you to define specific temperature setpoints for different times of the day and days of the week.
To use the Scheduler integration, navigate to the “Configuration” panel and select “Integrations.” Click the “+” button to add a new integration and search for “Scheduler.”
Follow the on-screen instructions to configure the integration and create your desired schedules. You can define multiple schedules for different days of the week, such as weekdays and weekends, and set different temperature setpoints for each schedule.
Another option is to use Node-RED, a visual programming tool that integrates seamlessly with Home Assistant. Node-RED allows you to create more complex and flexible schedules using a drag-and-drop interface.
With Node-RED, you can create schedules that respond to various triggers, such as sunrise and sunset times, weather conditions, or even calendar events. This level of flexibility allows you to create highly customized heating and cooling schedules that perfectly match your lifestyle.
For example, you can create a schedule that automatically lowers the temperature at night when you’re asleep and raises it again in the morning before you wake up. You can also create a schedule that adjusts the temperature based on the weather forecast, lowering the temperature on sunny days and raising it on cloudy days.
When creating your heating and cooling schedules, consider your daily routine and preferences. Identify the times of day when you’re typically home and the temperatures you find most comfortable.
Using Occupancy Sensors for Smart Thermostat Control
Occupancy sensors can significantly enhance your smart thermostat’s automation capabilities. By detecting whether a room is occupied, these sensors can trigger automatic temperature adjustments, ensuring comfort and energy savings.
Integrating occupancy sensors with Home Assistant allows you to create a truly responsive and intelligent climate control system. You can use various types of occupancy sensors, such as motion sensors, door/window sensors, and even smart cameras with person detection capabilities.
- Motion sensors for general room occupancy
- Door/window sensors for detecting entry and exit
- Smart cameras with person detection
- Combined temperature and humidity sensors
- Bluetooth trackers for individual presence
To integrate occupancy sensors with your smart thermostat, you’ll need to configure them in Home Assistant. First, ensure your occupancy sensors are properly connected to Home Assistant and that the necessary entities are created.
Then, create automation routines that respond to the occupancy sensor’s state. For example, you can create an automation that raises the temperature when a motion sensor detects occupancy in a room and lowers it again when no motion is detected for a certain period of time.
You can also use multiple occupancy sensors to create more sophisticated automation routines. For instance, you can use door/window sensors to detect when someone enters or leaves a room and adjust the temperature accordingly.
This is particularly useful in rooms that are not frequently used, such as guest rooms or home offices. By only heating or cooling these rooms when they’re occupied, you can significantly reduce energy waste.
Another advanced technique is to use zone-based heating and cooling. This involves dividing your home into different zones and controlling the temperature in each zone independently based on occupancy.
You can use multiple thermostats and occupancy sensors to create a zone-based system that optimizes comfort and energy efficiency in each area of your home. This approach is particularly effective in larger homes with multiple floors or wings.
Integrating Weather Data for Predictive Thermostat Control
Integrating weather data into your Home Assistant setup can allow for predictive thermostat control, optimizing your home’s temperature based on upcoming weather conditions. This can lead to increased energy efficiency and a more comfortable living environment.
Home Assistant offers several weather integrations that provide real-time and forecast data. Popular options include OpenWeatherMap, AccuWeather, and WeatherAPI.
To integrate weather data, navigate to the “Configuration” panel and select “Integrations.” Click the “+” button to add a new integration and search for your preferred weather provider.
Follow the on-screen instructions to configure the integration, which typically involves entering your location and API key. Once the integration is configured, Home Assistant will create entities containing weather information, such as temperature, humidity, wind speed, and forecast conditions.
You can then use this weather data to create automation routines that adjust your thermostat’s settings. For example, you can create an automation that lowers the temperature if the forecast predicts a warm day or raises the temperature if the forecast predicts a cold night.
Another useful application is to adjust your thermostat based on the current outdoor temperature. If the outdoor temperature is mild, you can set your thermostat to maintain a more moderate indoor temperature, reducing the need for excessive heating or cooling.
You can also use weather data to anticipate changes in temperature and adjust your thermostat accordingly. For example, if the forecast predicts a sudden drop in temperature, you can proactively raise your thermostat’s setpoint to ensure your home remains comfortable.
This predictive approach can help you avoid sudden temperature fluctuations and maintain a more consistent indoor climate. It also allows you to take advantage of natural heating and cooling opportunities, such as opening windows on mild days to reduce reliance on your HVAC system.
Voice Control Integration for Hands-Free Thermostat Management
Integrating voice control with your Home Assistant setup offers a convenient and hands-free way to manage your smart thermostat. Voice assistants like Google Assistant and Amazon Alexa can be seamlessly integrated with Home Assistant, allowing you to control your thermostat with simple voice commands.
To integrate voice control, you’ll first need to set up either Google Assistant or Amazon Alexa with Home Assistant. The process involves linking your Home Assistant account to your Google or Amazon account and enabling the necessary integrations.
For Google Assistant, you’ll need to install the Google Assistant integration in Home Assistant and follow the on-screen instructions to link your accounts. For Amazon Alexa, you’ll need to enable the Home Assistant skill in the Alexa app and link your accounts.
Once the integration is set up, you can use voice commands to control your thermostat. For example, you can say “Hey Google, set the thermostat to 72 degrees” or “Alexa, increase the thermostat temperature by 2 degrees.”
You can also use voice commands to query the current thermostat settings. For example, you can say “Hey Google, what’s the thermostat set to?” or “Alexa, what’s the temperature in the living room?”
Voice control can be particularly useful when your hands are full or when you’re in a different room from your thermostat. It provides a quick and easy way to adjust the temperature without having to use a mobile app or physical controls.
You can also create custom voice commands to control multiple devices simultaneously. For example, you can create a voice command that turns on the lights, adjusts the thermostat, and starts playing music all at once.
This level of customization allows you to create a truly personalized and automated smart home experience. Voice control enhances the convenience and accessibility of your smart thermostat, making it easier than ever to manage your home’s climate.
Troubleshooting Smart Thermostat Connections
Even with careful planning and setup, you may encounter issues with your smart thermostat connection. Troubleshooting these issues efficiently can save you time and frustration. Here are some common problems and their solutions.
One common issue is the thermostat not connecting to your Wi-Fi network. Ensure your Wi-Fi network is working properly and that the thermostat is within range of your router.
Check the thermostat’s Wi-Fi settings and make sure the correct network name and password are entered. If the thermostat is still not connecting, try restarting your router and the thermostat.
Another common problem is Home Assistant not recognizing your thermostat. Verify that the thermostat is properly integrated with Home Assistant and that the necessary entities are created.
Check the Home Assistant logs for any error messages related to the thermostat integration. If there are errors, try restarting the Home Assistant service or reinstalling the integration.
Sometimes, the thermostat may become unresponsive or exhibit erratic behavior. This can be caused by a variety of factors, such as software glitches or hardware failures.
Try restarting the thermostat and checking for any firmware updates. If the problem persists, contact the thermostat manufacturer for support.
If you’re using a Z-Wave or Zigbee thermostat, ensure your Z-Wave or Zigbee hub is working properly and that the thermostat is within range of the hub. Try repairing the Z-Wave or Zigbee network to re-establish the connection between the thermostat and the hub.
Advanced Automation Scenarios for Smart Thermostats
Beyond basic scheduling and occupancy-based control, smart thermostats integrated with Home Assistant can enable a range of advanced automation scenarios. These scenarios can further optimize energy efficiency, enhance comfort, and provide a truly personalized smart home experience.
One advanced scenario is demand response automation. Demand response programs are offered by many utility companies to incentivize energy conservation during peak demand periods.
By integrating with these programs, your smart thermostat can automatically adjust its settings during peak demand events, reducing your energy consumption and earning you rebates or credits on your utility bill. Home Assistant can be configured to receive signals from your utility company and trigger the necessary thermostat adjustments.
Another advanced scenario is integration with smart blinds or shades. By coordinating your thermostat with smart blinds or shades, you can further optimize your home’s temperature based on sunlight exposure.
For example, you can automatically lower the blinds on sunny days to reduce solar heat gain and lower the cooling load on your HVAC system. Conversely, you can raise the blinds on cold days to allow sunlight to warm your home naturally.
You can also integrate your smart thermostat with other smart home devices, such as smart fans or portable air conditioners. This allows you to create a more comprehensive and responsive climate control system.
For example, you can automatically turn on a smart fan when the temperature reaches a certain threshold to circulate air and improve comfort. You can also use a portable air conditioner to supplement your central HVAC system in specific rooms or zones.
Conclusion
Integrating smart thermostats with Home Assistant unlocks a world of possibilities for home automation and energy efficiency. By following the steps outlined in this article, you can create a truly smart and responsive climate control system that optimizes comfort and minimizes energy waste.
From choosing the right thermostat to creating custom automation routines, Home Assistant provides the tools and flexibility you need to tailor your smart home to your specific needs and preferences. Embrace the power of smart thermostats and Home Assistant to create a more comfortable, energy-efficient, and connected home.