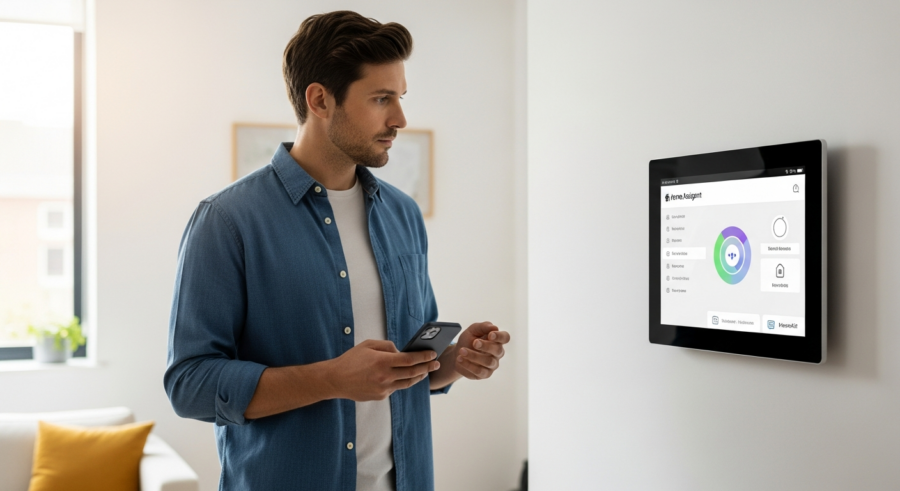
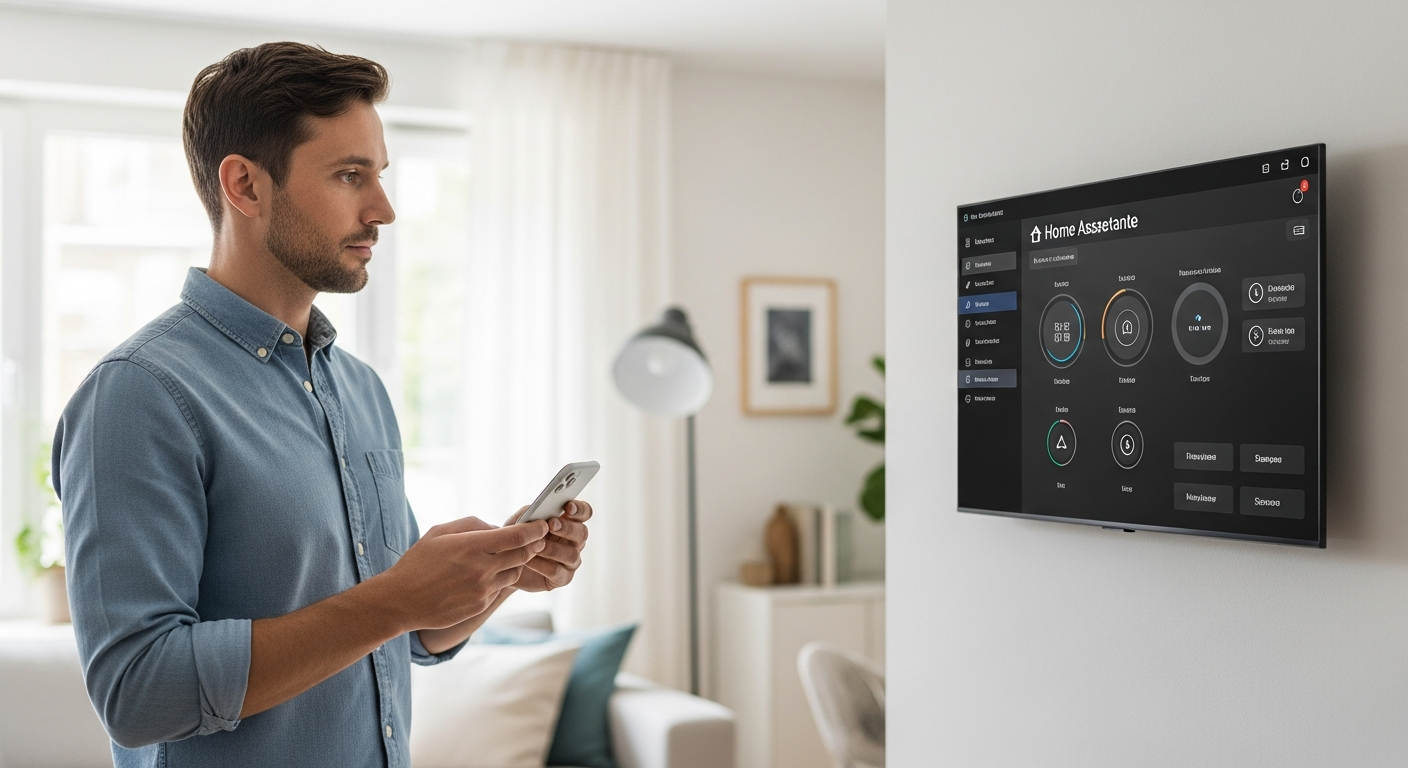
Home automation has become increasingly popular, offering convenience and efficiency in managing your home’s devices. Integrating your smart home setup with Apple HomeKit can provide a seamless and user-friendly experience, especially if you’re already invested in the Apple ecosystem. This article will guide you through the process of setting up Apple HomeKit Home Assistant integration, allowing you to control your devices with Siri and manage them through the Home app.
By the end of this guide, you’ll be able to control your Home Assistant devices using Siri voice commands and create scenes within the Home app to automate your daily routines. We’ll cover everything from the initial prerequisites to troubleshooting common connectivity issues, ensuring a smooth and successful integration.
This integration not only simplifies your smart home management but also enhances the overall user experience by leveraging the familiar and intuitive Apple interface. Let’s get started and unlock the full potential of your smart home with Apple HomeKit Home Assistant.
Prerequisites for HomeKit Integration
Before you begin the integration process, there are a few essential prerequisites you need to ensure a smooth setup. First, you’ll need a working Home Assistant installation; this guide assumes you already have Home Assistant up and running.
Next, make sure you have an Apple device, such as an iPhone, iPad, or Apple TV, that is signed in to iCloud with the same Apple ID you intend to use for HomeKit. This device will act as the HomeKit hub, facilitating communication between your Home Assistant devices and the Apple ecosystem.
Ensure that your Apple device is updated to the latest version of iOS or iPadOS. Older versions might have compatibility issues with the HomeKit integration, so keeping your device up-to-date is crucial.
Finally, verify that your Home Assistant instance is accessible from your local network. This is necessary for HomeKit to discover and communicate with your Home Assistant devices seamlessly.
Installing the HomeKit Integration
The next step involves installing the HomeKit integration within Home Assistant. This is a straightforward process that can be completed through the Home Assistant user interface.
First, navigate to the “Integrations” page in your Home Assistant configuration. You can find this by going to “Configuration” and then “Integrations” in the Home Assistant sidebar.
Click the “+” button to add a new integration and search for “HomeKit”. Select the “HomeKit” integration from the list of available options.
Home Assistant will then prompt you to configure the integration. You’ll be asked to select which entities (devices) you want to expose to HomeKit; choose the devices you want to control with Siri and the Home app.
Once you’ve selected the entities, Home Assistant will generate a QR code and a setup code. Keep this information handy, as you’ll need it in the next step to add Home Assistant to the Home app on your Apple device.
Adding Home Assistant to the Home App
Now that you’ve installed the HomeKit integration in Home Assistant, it’s time to add Home Assistant as an accessory to your Apple Home app. This will allow your Apple devices to communicate with your Home Assistant setup.
Open the Home app on your iPhone or iPad and tap the “+” button in the top right corner. Select “Add Accessory” from the menu.
| Device Type | Recommendation | Reason |
|---|---|---|
| Lights | Expose all lights | Basic functionality |
| Switches | Expose all switches | On/Off control |
| Thermostats | Expose all thermostats | Temperature management |
| Sensors | Expose relevant sensors | Motion, temperature, etc. |
The Home app will prompt you to scan the QR code generated by Home Assistant. If you can’t scan the code, you can manually enter the setup code provided by Home Assistant.
Follow the on-screen instructions to complete the setup process. You’ll be able to assign your Home Assistant devices to specific rooms within your Home app, making it easier to manage and control them.
Controlling Devices with Siri
One of the biggest advantages of integrating Home Assistant with Apple HomeKit is the ability to control your devices using Siri voice commands. Once the integration is complete, you can use Siri to manage your lights, switches, thermostats, and other connected devices.
To control a device, simply use a voice command like “Hey Siri, turn on the living room lights” or “Hey Siri, set the thermostat to 72 degrees”. Siri will communicate with the Home app, which in turn will send the command to your Home Assistant instance to control the specified device.
Make sure to use the names you’ve assigned to your devices in the Home app when using Siri. If you’ve named a light “Reading Lamp,” you would say, “Hey Siri, turn on the Reading Lamp.”
Siri can also understand more complex commands, such as “Hey Siri, turn off all the lights in the kitchen” or “Hey Siri, set the temperature in the bedroom to 68 degrees and turn on the fan.” Experiment with different commands to see what works best for your setup.
You can also use Siri on your Apple Watch, HomePod, or other Siri-enabled devices to control your Home Assistant devices. This provides even more flexibility and convenience in managing your smart home.
Creating Scenes in HomeKit
Scenes in HomeKit allow you to control multiple devices with a single command, automating common tasks and creating a more convenient smart home experience. You can create scenes for various scenarios, such as “Good Morning,” “Good Night,” or “Movie Time,” each adjusting multiple devices to your preferred settings.
To create a scene, open the Home app on your iPhone or iPad and tap the “+” button in the top right corner. Select “Add Scene” from the menu.
- Good Morning: Open blinds, turn on lights, set thermostat
- Good Night: Turn off lights, lock doors, lower thermostat
- Movie Time: Dim lights, close blinds, turn on TV
- Leaving Home: Turn off all lights, lock all doors, set alarm
- Arriving Home: Turn on entry lights, unlock door, disarm alarm
Choose a suggested scene or create a custom one. Give your scene a descriptive name and select the devices you want to include in the scene.
Adjust the settings for each device in the scene to your desired state. For example, in a “Good Night” scene, you might turn off all the lights, lock the doors, and lower the thermostat.
Advanced HomeKit Configuration
For users looking to fine-tune their HomeKit integration, Home Assistant offers advanced configuration options. These settings allow you to customize how your devices are exposed to HomeKit and optimize performance.
One useful feature is the ability to customize the device types exposed to HomeKit. For example, you can configure a generic fan entity to be recognized as a specific type of fan in HomeKit, such as a ceiling fan or an oscillating fan.
You can also adjust the polling interval for devices that don’t report state changes in real-time. Increasing the polling interval can reduce network traffic and improve performance, but it might also result in slightly delayed updates in the Home app.
Another advanced option is the ability to use HomeKit Controller to bring HomeKit-enabled devices directly into Home Assistant, bypassing the need for a separate hub. This can simplify your setup and improve performance for certain devices.
To access these advanced configuration options, you’ll need to edit the `configuration.yaml` file in your Home Assistant installation. Be sure to back up your configuration before making any changes, and consult the Home Assistant documentation for detailed instructions.
Securing Your HomeKit Setup
Security is a paramount concern when integrating smart home devices with Apple HomeKit. Ensuring that your HomeKit setup is secure can protect your privacy and prevent unauthorized access to your devices.
First, make sure that your Apple ID is protected with a strong, unique password and two-factor authentication. This will prevent unauthorized access to your HomeKit data.
Consider using a separate VLAN (Virtual LAN) for your IoT devices, including your Home Assistant instance and HomeKit accessories. This can isolate your smart home devices from your primary network, reducing the risk of a security breach.
Keep your Home Assistant instance and all connected devices updated with the latest security patches. Software updates often include fixes for known vulnerabilities, so it’s important to stay up-to-date.
Finally, be mindful of the permissions you grant to third-party apps and services that integrate with HomeKit. Only grant access to apps and services that you trust, and review their privacy policies carefully.
Troubleshooting HomeKit Connectivity Issues
Even with careful setup, you might encounter connectivity issues between Home Assistant and HomeKit. Here are some common problems and their solutions.
If your Home Assistant devices are not appearing in the Home app, first ensure that the HomeKit integration is properly configured in Home Assistant. Double-check that you’ve selected the correct entities to expose to HomeKit and that the integration is running.
Another common issue is that the Home app might show “No Response” for your Home Assistant devices. This often indicates a network connectivity problem; make sure that your Home Assistant instance and your Apple device are on the same network and can communicate with each other.
Try restarting your Home Assistant instance and your Apple device. This can often resolve temporary connectivity issues.
If you’re still having trouble, check your firewall settings to ensure that HomeKit traffic is not being blocked. HomeKit uses Bonjour for device discovery, so make sure that Bonjour is enabled on your network.
As a last resort, you can try removing the HomeKit integration from Home Assistant and re-adding it. This will generate a new QR code and setup code, which you can use to re-add Home Assistant to the Home app.
Optimizing Performance for HomeKit Integration
To ensure a smooth and responsive experience with your Apple HomeKit Home Assistant integration, optimizing performance is key. There are several strategies you can employ to minimize latency and maximize reliability.
First, consider the hardware you’re running Home Assistant on. A Raspberry Pi might be sufficient for a small setup, but a larger smart home with many devices might benefit from a more powerful device, such as a dedicated server or a NAS (Network Attached Storage) device.
Optimize your network configuration by using a high-quality router and ensuring that your Home Assistant instance and HomeKit hub are connected to a stable Wi-Fi network or, ideally, a wired Ethernet connection. Reduce network congestion by minimizing the number of devices connected to your Wi-Fi network and using a separate 2.4 GHz network for your IoT devices.
Regularly clean up your Home Assistant configuration by removing unused entities and automations. A cluttered configuration can slow down Home Assistant and impact performance.
Consider using the “include” feature in Home Assistant to split your configuration into multiple files. This can make it easier to manage your configuration and improve loading times.
Exploring Advanced Automations with HomeKit and Home Assistant
Once you have the basic Apple HomeKit Home Assistant integration set up, you can start exploring advanced automations to create a truly smart home. By combining the capabilities of both platforms, you can create complex and personalized automations that cater to your specific needs.
One powerful technique is to use Home Assistant’s advanced automation engine to trigger HomeKit scenes and actions. For example, you can create an automation that turns on a specific HomeKit scene when you arrive home, based on your location.
You can also use Home Assistant to monitor sensor data and trigger HomeKit actions based on specific conditions. For instance, you can create an automation that turns on a HomeKit-enabled fan when the temperature in a room exceeds a certain threshold.
Another advanced automation involves using HomeKit triggers to initiate Home Assistant automations. For example, you can create a HomeKit automation that triggers a Home Assistant script when you press a specific button on a HomeKit-enabled remote.
Experiment with different combinations of HomeKit and Home Assistant triggers and actions to create custom automations that streamline your daily routines and enhance your smart home experience.
Leveraging HomeKit for Remote Access and Control
A significant advantage of using Apple HomeKit is the ability to remotely access and control your smart home devices. This allows you to manage your home from anywhere in the world, as long as you have an internet connection.
To enable remote access, you’ll need to have a HomeKit hub set up in your home. This can be an Apple TV (4th generation or later), a HomePod, or an iPad (running iOS 10 or later).
Once you have a HomeKit hub set up, you can use the Home app on your iPhone or iPad to control your devices remotely. You can turn lights on or off, adjust the thermostat, lock or unlock doors, and monitor sensor data, all from the convenience of your mobile device.
Remote access also allows you to receive notifications from your HomeKit devices when certain events occur. For example, you can receive a notification when a door is opened or when motion is detected by a security camera.
Take advantage of HomeKit’s remote access capabilities to stay connected to your home and manage your devices from anywhere, providing peace of mind and convenience.
Conclusion
Integrating Home Assistant with Apple HomeKit offers a powerful and user-friendly way to manage your smart home devices. By following the steps outlined in this article, you can seamlessly control your devices with Siri, create scenes in the Home app, and leverage advanced automations to enhance your smart home experience.
This integration not only simplifies your smart home management but also provides a secure and convenient way to access and control your devices from anywhere. Embrace the power of Apple HomeKit Home Assistant integration and unlock the full potential of your smart home.
By understanding the prerequisites, installation process, and troubleshooting steps, you can ensure a smooth and successful integration. With the ability to control devices with Siri and create custom scenes, your home automation setup becomes more intuitive and responsive to your needs.
As you continue to explore the capabilities of this integration, consider delving into advanced automations and security measures to further optimize your smart home. The combination of Home Assistant’s flexibility and Apple HomeKit’s user-friendly interface provides a robust foundation for a truly intelligent and connected home.