Smart home automation has revolutionized how we interact with our living spaces. One of the most popular platforms for achieving this is Home Assistant, an open-source home automation software. With its flexibility and extensive compatibility, Home Assistant allows you to integrate various smart devices into a unified system.
Among the many protocols supported by Home Assistant, Zigbee stands out as a reliable and energy-efficient option. This article provides a comprehensive guide on how to configure Zigbee devices in Home Assistant, enabling you to create a truly interconnected smart home.
We will walk you through the process of setting up your Zigbee network, pairing devices, troubleshooting common issues, and leveraging Zigbee groups and scenes for enhanced automation. By the end of this guide, you’ll be well-equipped to harness the power of Zigbee within your Home Assistant ecosystem.
Understanding Zigbee and Its Advantages
Zigbee is a wireless communication protocol designed for low-power, low-bandwidth applications. It operates on the IEEE 802.15.4 standard, making it ideal for smart home devices that require minimal energy consumption and reliable connectivity.
One of the main advantages of Zigbee is its mesh networking capability. In a Zigbee network, devices can communicate with each other, relaying messages to extend the network’s range and improve reliability.
This mesh architecture ensures that even devices located far from the central hub can maintain a stable connection. This is a major benefit compared to other protocols like Wi-Fi, which typically requires devices to be within range of a single access point.
Another key advantage of Zigbee is its low power consumption. Zigbee devices can operate for extended periods on battery power, making them suitable for sensors, switches, and other devices that need to be placed in remote locations without easy access to power outlets.
Beyond its technical specifications, Zigbee offers a practical solution for creating a robust and responsive smart home. The ability for devices to act as repeaters significantly reduces the need for a powerful central hub. This distributed approach enhances the overall resilience of the network.
Furthermore, Zigbee is designed with interoperability in mind. While not all Zigbee devices are universally compatible, the protocol promotes a level of standardization that simplifies integration compared to some proprietary smart home technologies. This means you have a wider range of devices to choose from when building your smart home.
Consider the scenario of a smart home with multiple floors and thick walls. A Wi-Fi-based system might struggle to provide consistent coverage throughout the entire house. However, a Zigbee network, with its mesh capabilities, can easily overcome these challenges by using strategically placed devices to relay signals and ensure reliable communication.
Another advantage worth noting is Zigbee’s security features. The protocol incorporates encryption and authentication mechanisms to protect your data and prevent unauthorized access to your smart home devices. This is crucial for maintaining the privacy and security of your home automation system.
Choosing a Zigbee Coordinator
A Zigbee coordinator acts as the central hub of your Zigbee network. It is responsible for managing the network, allowing devices to join, and routing messages between them.
Selecting the right Zigbee coordinator is crucial for ensuring a stable and responsive smart home experience. There are several options available, each with its own set of features and compatibility considerations.
One popular choice is the Sonoff Zigbee 3.0 USB Dongle Plus. This dongle is known for its compatibility with a wide range of Zigbee devices and its ease of integration with Home Assistant.
Another option is the Conbee II, which is also highly regarded for its performance and compatibility. The Conbee II supports a large number of devices and offers excellent range, making it suitable for larger homes.
When selecting a Zigbee coordinator, consider the size of your home and the number of devices you plan to connect. A coordinator with a higher device limit and better range will be necessary for larger installations. It’s also important to check the compatibility of the coordinator with the specific Zigbee devices you intend to use.
The software support and community resources available for each coordinator can also be a deciding factor. Some coordinators have more active communities and better documentation, making it easier to troubleshoot issues and find solutions. Look for coordinators that are well-supported by the Home Assistant community.
Beyond the Sonoff and Conbee II, other popular options include the HUSBZB-1 (a combination Zigbee and Z-Wave stick) and various Zigbee gateways from manufacturers like Philips Hue and Samsung SmartThings. However, using these gateways often requires integrating them with Home Assistant, which may add complexity.
Consider your future needs when choosing a coordinator. Will you be expanding your smart home in the future? If so, it’s best to choose a coordinator that can handle a large number of devices and provides good range. Upgrading your coordinator later can be a hassle, so it’s worth investing in a good one from the start.
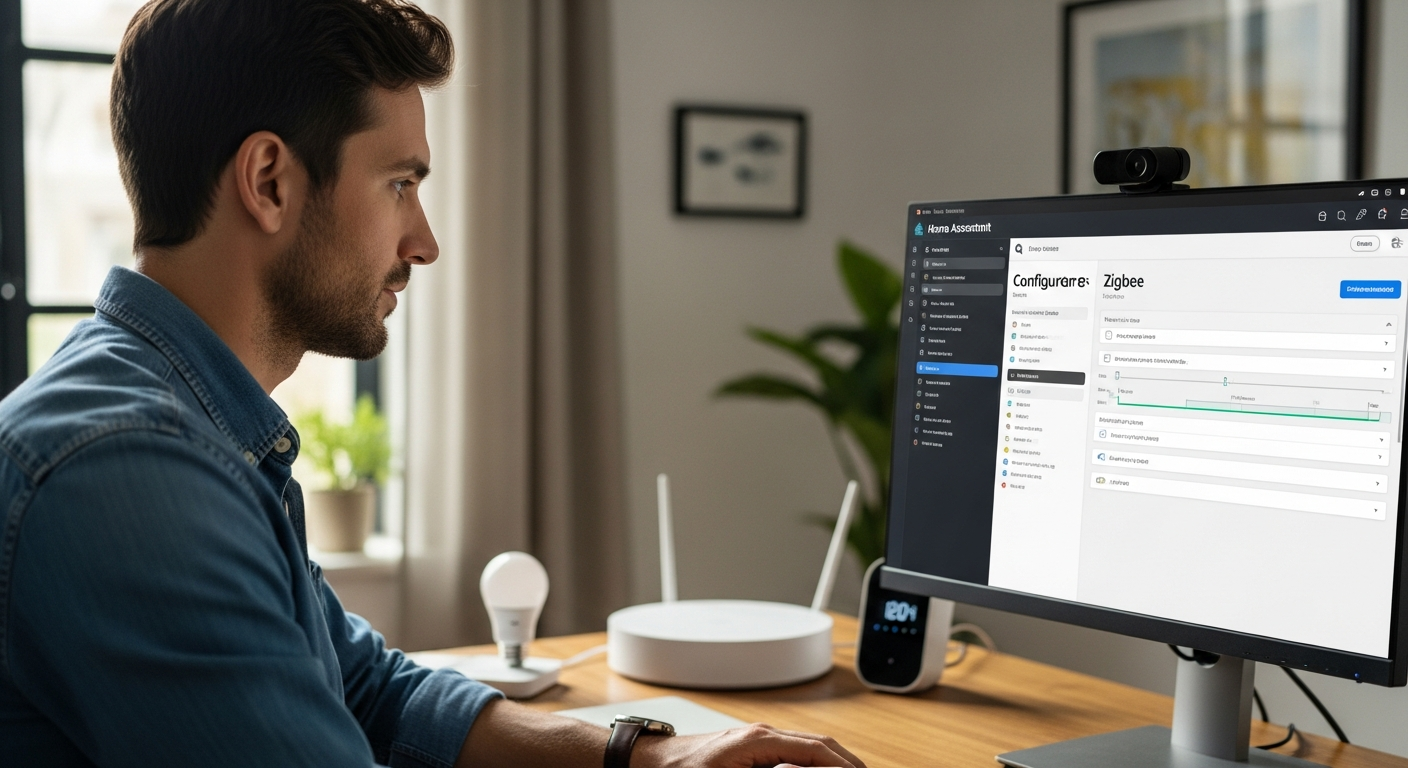
Installing the Zigbee Integration
To start using Zigbee devices with Home Assistant, you need to install the Zigbee Integration. This integration allows Home Assistant to communicate with your Zigbee coordinator and manage your Zigbee devices.
The installation process is straightforward and can be completed through the Home Assistant user interface. Here’s a step-by-step guide to get you started.
| Step | Action | Description |
|---|---|---|
| 1 | Connect Coordinator | Plug your Zigbee coordinator into the USB port of your Home Assistant device. |
| 2 | Access Home Assistant | Open your Home Assistant web interface in a browser. |
| 3 | Navigate to Integrations | Go to “Configuration” > “Integrations” in the sidebar menu. |
| 4 | Add Integration | Click the “+” button to add a new integration. |
| 5 | Search for Zigbee | Search for “Zigbee” in the list of available integrations. |
| 6 | Select Integration | Choose the “Zigbee Home Automation” integration. |
| 7 | Configure | Follow the on-screen instructions to configure the integration, selecting your Zigbee coordinator from the list of available devices. |
| 8 | Submit | Submit the configuration and wait for the integration to be set up. |
Once the integration is installed, Home Assistant will automatically detect your Zigbee coordinator. You can then proceed to pair your Zigbee devices with the network.
During the configuration process, you may be prompted to select the serial port that your Zigbee coordinator is connected to. Ensure that you select the correct port; otherwise, the integration will not be able to communicate with your coordinator. You can usually find the correct port by checking your operating system’s device manager.
After selecting the serial port, you may also need to specify the data flow control setting. The default setting is usually “hardware,” but you may need to change it to “software” or “none” depending on your coordinator. Refer to your coordinator’s documentation for the recommended setting.
If you encounter any issues during the installation process, check the Home Assistant logs for error messages. The logs can provide valuable information about the cause of the problem and help you troubleshoot it. You can access the logs by navigating to the “Configuration” > “Logs” section in Home Assistant.
It’s also a good idea to restart Home Assistant after installing the Zigbee Integration. This ensures that the integration is properly loaded and initialized. You can restart Home Assistant by navigating to the “Configuration” > “General” section and clicking the “Restart” button.
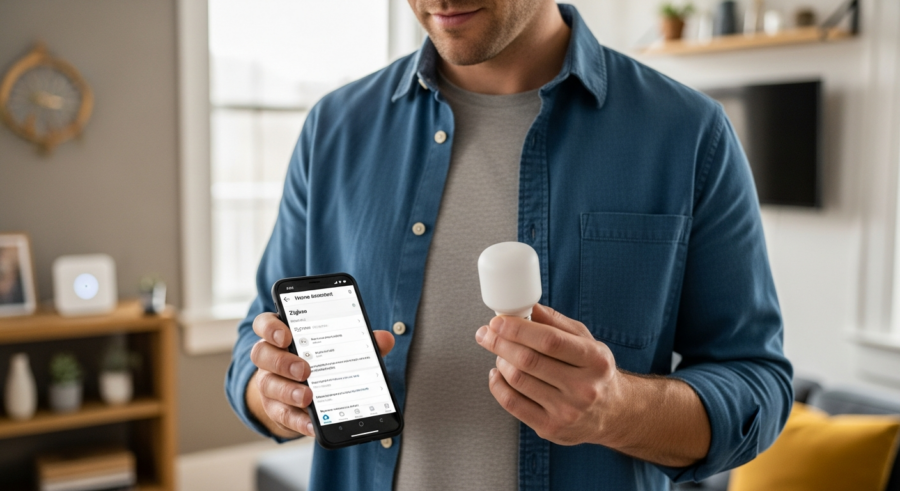
Pairing Zigbee Devices
Pairing Zigbee devices involves connecting them to your Zigbee network through the coordinator. This process typically requires putting the device into pairing mode and allowing the coordinator to discover it.
The exact steps for pairing a device may vary depending on the manufacturer and model. However, the general process remains the same.
First, access the Zigbee Home Automation integration in Home Assistant. Then, click on the “Add Device” button to initiate the pairing process.
Next, put your Zigbee device into pairing mode. This usually involves pressing and holding a button on the device until it starts blinking or indicating that it is ready to pair.
Home Assistant will then search for the device and, once found, add it to your Zigbee network. You may be prompted to enter a device-specific code or follow additional instructions to complete the pairing process.
It’s crucial to consult the device’s manual for specific pairing instructions. Some devices require a specific sequence of button presses or a particular reset procedure to enter pairing mode. Following the manufacturer’s instructions will significantly increase your chances of a successful pairing.
During the pairing process, it’s recommended to keep the device close to the Zigbee coordinator. This ensures a strong signal and reduces the likelihood of pairing failures. Once the device is successfully paired, you can move it to its final location.
If a device fails to pair after several attempts, try resetting the device to its factory settings. This can often resolve issues caused by previous pairing attempts or incorrect configurations. Refer to the device’s manual for instructions on how to perform a factory reset.
After pairing, Home Assistant will automatically create entities for the device’s various functions, such as controlling lights, reading sensor values, or triggering switches. You can then use these entities in your automations and dashboards.
Troubleshooting Zigbee Connectivity Issues
While Zigbee is generally reliable, you may encounter connectivity issues from time to time. These issues can range from devices not pairing to devices becoming unresponsive.
Fortunately, there are several troubleshooting steps you can take to resolve these problems. Here are some common issues and their solutions.
- Check Coordinator Placement
- Ensure Adequate Range
- Address Interference
- Update Firmware
- Re-Pair Devices
Start by ensuring that your Zigbee coordinator is placed in a central location, away from potential sources of interference. Then, consider adding Zigbee repeaters to extend the range of your network.
Zigbee coordinators should be placed away from metal objects and other electronic devices that can interfere with the signal. A clear line of sight between the coordinator and the devices can also improve connectivity.
If you’re experiencing range issues, consider adding Zigbee repeaters to your network. These devices amplify the Zigbee signal and extend the range of your network. Many Zigbee devices, such as smart plugs and light bulbs, can act as repeaters.
Interference from other wireless devices, such as Wi-Fi routers and microwave ovens, can also cause connectivity issues. Try changing the Zigbee channel to avoid conflicts with other wireless networks. You can change the Zigbee channel in the Zigbee Home Automation integration settings.
Outdated firmware can also cause connectivity issues. Check for firmware updates for your Zigbee coordinator and devices. Firmware updates often include bug fixes and performance improvements that can resolve connectivity problems.
If a device becomes unresponsive, try re-pairing it to the network. Sometimes, devices can lose their connection to the network due to temporary interference or other issues. Re-pairing the device can often restore its connection.
Using Zigbee Groups and Scenes
Zigbee groups and scenes allow you to control multiple devices simultaneously, creating a more cohesive and automated smart home experience. Groups enable you to control multiple devices as if they were one, while scenes allow you to save and recall specific device states.
For example, you can create a group for all the lights in your living room and control them together. You can also create a scene that sets the lights to a specific brightness and color temperature for movie nights.
To create a group in Home Assistant, navigate to the “Entities” section in the “Configuration” menu. Then, click on the “+” button to add a new entity and select “Group” from the list of available options.
Give your group a name and select the Zigbee devices you want to include. Once the group is created, you can control all the devices in the group using a single entity in Home Assistant.
Scenes can be created in a similar way. Navigate to the “Scenes” section in the “Configuration” menu and click on the “+” button to add a new scene. Then, select the devices you want to include in the scene and configure their desired states.
Once the scene is created, you can activate it manually or use it in your automations. For example, you can create an automation that activates the “Movie Night” scene when you turn on your TV.
Groups and scenes can significantly simplify your smart home automations. Instead of controlling each device individually, you can control entire groups of devices with a single command. This makes your automations more concise and easier to manage.
Consider using groups and scenes to create different lighting moods for different activities. For example, you can create a “Reading” scene that sets the lights to a warm and comfortable brightness, or a “Party” scene that sets the lights to a vibrant and dynamic color.
Advanced Zigbee Configuration
For users who want to fine-tune their Zigbee network, Home Assistant offers several advanced configuration options. These options allow you to optimize performance, customize device behavior, and troubleshoot more complex issues.
One useful feature is the ability to view the Zigbee network map. This map provides a visual representation of your Zigbee network, showing how devices are connected and the signal strength between them.
To access the Zigbee network map, you will need to install a Zigbee visualization tool such as Zigbee2MQTT Assistant. This tool provides a user-friendly interface for viewing and analyzing your Zigbee network.
Another advanced configuration option is the ability to customize device settings using Zigbee clusters. Zigbee clusters are collections of attributes and commands that define the behavior of a Zigbee device.
By accessing and modifying these clusters, you can fine-tune the behavior of your Zigbee devices to meet your specific needs. However, this requires a deeper understanding of the Zigbee protocol and device specifications.
The Zigbee2MQTT project provides extensive documentation on Zigbee clusters and device-specific configurations. This documentation can be a valuable resource for users who want to explore the advanced configuration options available in Home Assistant.
Another advanced technique involves using custom converters in Zigbee2MQTT to support devices that are not officially supported. Custom converters allow you to define how Zigbee messages are translated into Home Assistant entities, enabling you to integrate a wider range of devices.
Experimenting with advanced Zigbee configuration can be a rewarding experience, but it’s important to proceed with caution. Incorrect configurations can lead to device malfunctions or network instability. Always back up your configuration before making any changes.
Integrating Zigbee with Other Smart Home Ecosystems
One of the strengths of Home Assistant is its ability to integrate with various smart home ecosystems. This allows you to combine Zigbee devices with devices that use other protocols, such as Wi-Fi, Z-Wave, and Bluetooth.
For example, you can integrate your Zigbee lights with your Wi-Fi smart speaker to create a voice-controlled lighting system. You can also integrate your Zigbee sensors with your Z-Wave door locks to create a more secure and automated home security system.
To integrate Zigbee with other smart home ecosystems, you will need to install the corresponding integrations in Home Assistant. These integrations provide the necessary communication protocols and device drivers to allow Home Assistant to interact with devices from other ecosystems.
Once the integrations are installed, you can create automations that involve devices from multiple ecosystems. This allows you to create complex and personalized smart home scenarios that meet your specific needs.
Consider integrating your Zigbee motion sensors with your Wi-Fi security cameras. When motion is detected by a Zigbee sensor, you can trigger your Wi-Fi camera to start recording and send you a notification. This creates a more comprehensive and responsive security system.
Another example is integrating your Zigbee thermostats with your weather data from a Wi-Fi-connected weather station. You can create automations that adjust your thermostat based on the current weather conditions, optimizing energy efficiency and comfort.
The key to successful integration is to understand the capabilities of each ecosystem and how they can complement each other. By combining the strengths of different protocols, you can create a truly intelligent and interconnected smart home.
Remember to consider the limitations of each integration. Some integrations may offer limited functionality or require specific configurations. Consult the Home Assistant documentation and community forums for guidance on integrating different ecosystems.
Security Considerations for Zigbee Devices
Security is a critical aspect of any smart home setup. It’s important to take steps to protect your Zigbee network and devices from unauthorized access.
One of the most important security measures is to keep your Zigbee coordinator and devices updated with the latest firmware. Firmware updates often include security patches that address known vulnerabilities.
Another important security measure is to use a strong and unique network key for your Zigbee network. The network key is used to encrypt communication between devices, preventing unauthorized access to your network.
Additionally, consider enabling Zigbee device authentication to ensure that only authorized devices can join your network. This feature requires devices to provide a valid authentication token before they are allowed to connect.
Change the default network key of your Zigbee network. The default key is often publicly known and can be used by attackers to gain access to your network. Generate a strong and random network key and configure your Zigbee coordinator to use it.
Be cautious about pairing unknown or untrusted Zigbee devices to your network. Only pair devices from reputable manufacturers and ensure that they have been properly vetted for security vulnerabilities. Rogue devices can be used to compromise your network.
Monitor your Zigbee network for suspicious activity. Keep an eye on the devices that are connected to your network and look for any unusual communication patterns. If you detect any suspicious activity, investigate it immediately.
Consider using a separate VLAN for your smart home devices. This isolates your smart home network from your main network, preventing attackers from gaining access to your sensitive data if they compromise your smart home devices.
Conclusion
Configuring Zigbee devices in Home Assistant can greatly enhance your smart home automation capabilities. By following this guide, you can set up a reliable and efficient Zigbee network, integrate various smart devices, and create custom automations to suit your needs.
Remember to choose the right Zigbee coordinator, install the Zigbee Integration, and follow the pairing instructions for each device. With a little patience and experimentation, you’ll be well on your way to creating a truly interconnected and intelligent home.